

Winter Sugar Cookies with Royal Icing
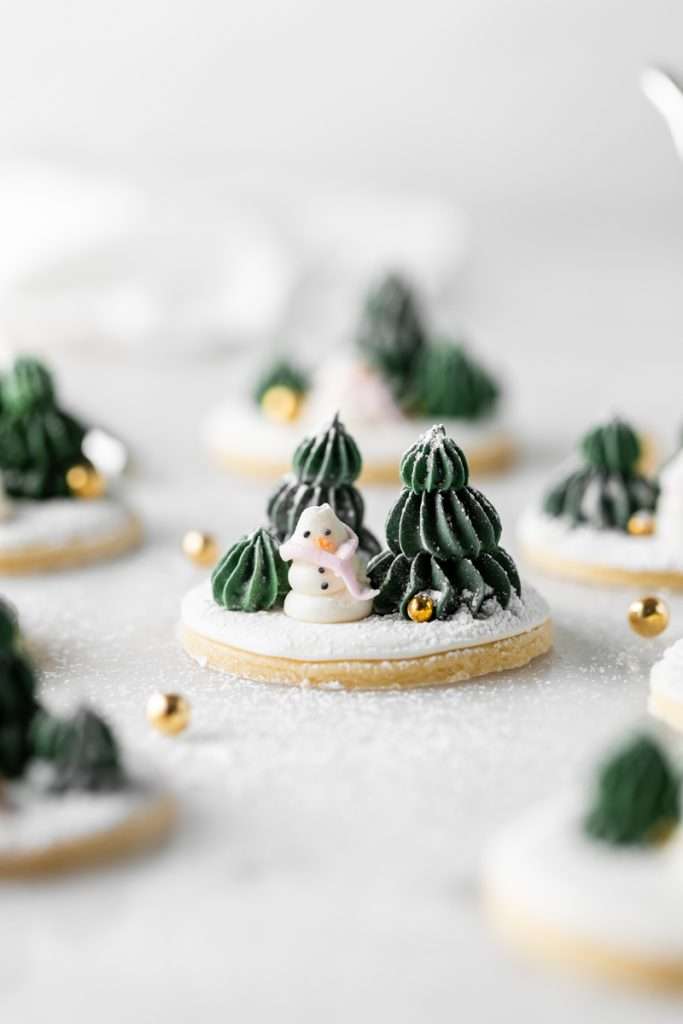
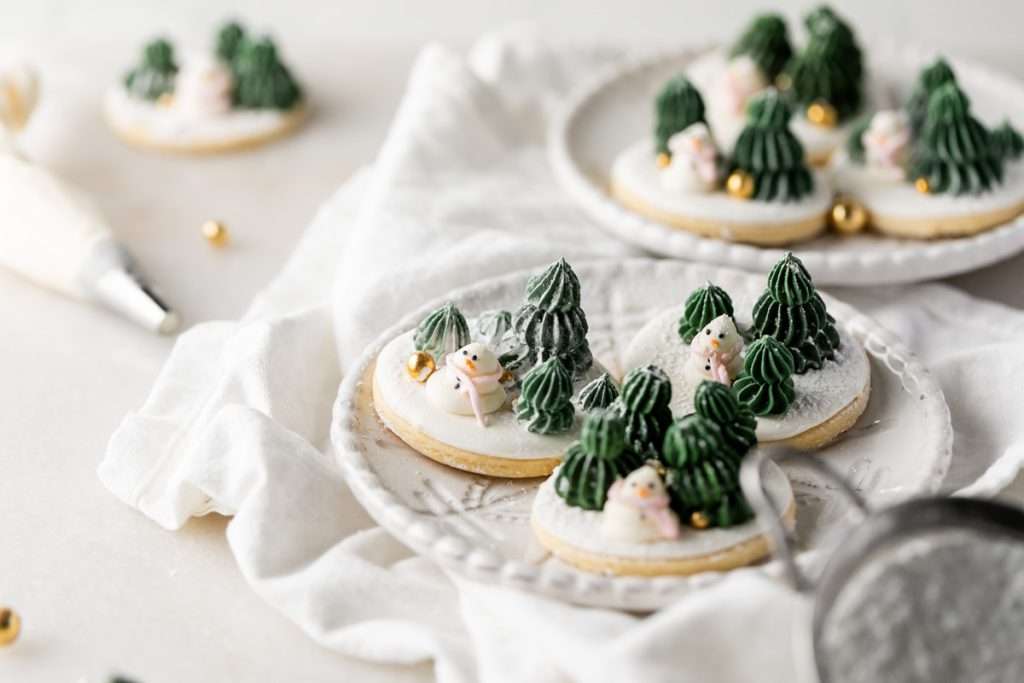
Cookie baking season has arrived and I have a new sugar cookie design to share that I hope you’ll enjoy! Winter themed sugar cookies with royal icing, complete with three dimension trees and snowmen that require very little experience to decorate from start to finish! Similar to the pumpkin decorated cookies from fall, I used star and round piping tips to create the festive and wintery scenes, reminiscent of a snow globe, without the globe, but equally adorable! As always, the cookies are soft and delicious and are gonna be a sweet addition to your holiday baking lineup!

Winter Sugar Cookies with Royal Icing
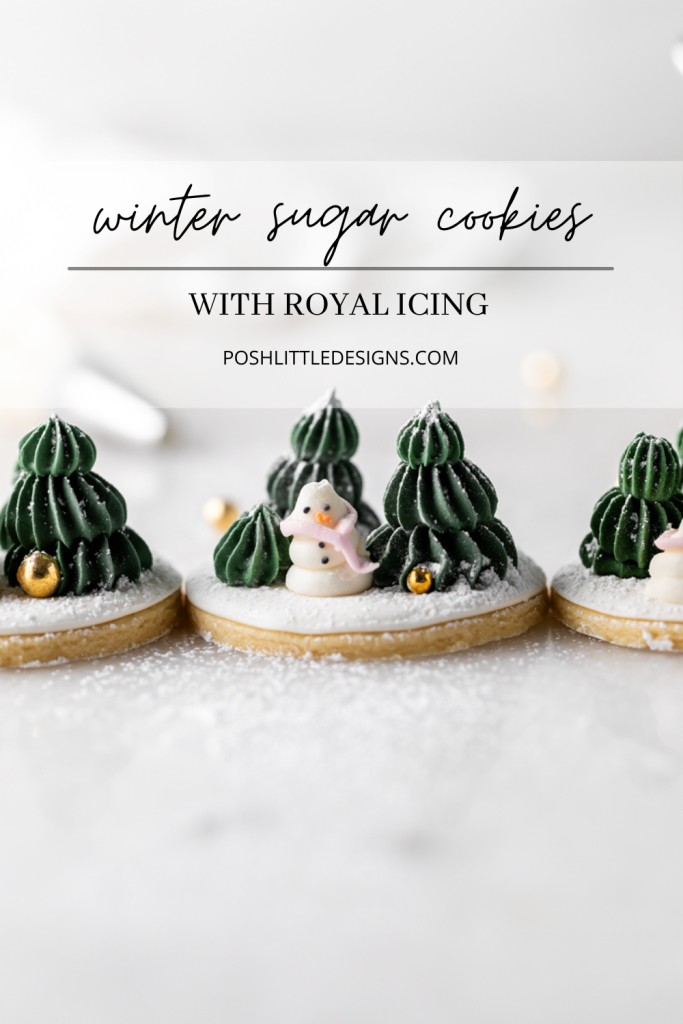
Cute winter themed cut out sugar cookies decorated with three dimension trees and snowmen, on a bed of royal icing. Dusted with powdered sugar and finished with gold dragees!
Cut out Winter Sugar Cookies
This classic sugar cookie dough is a go-to in our family. It’s a no-chill recipe that comes together and bakes quickly! The dough is also easily adaptable with a dairy free option and flavor additions of choice, from vanilla and lemon to peppermint, and in circle shapes, with no cookie cutter required! The icing decorations while simple, will transport you to a winter wonderland, of royal icing trees and snowmen finished with a dusting of snow/powdered sugar.
How do you make the roll out sugar cookies?
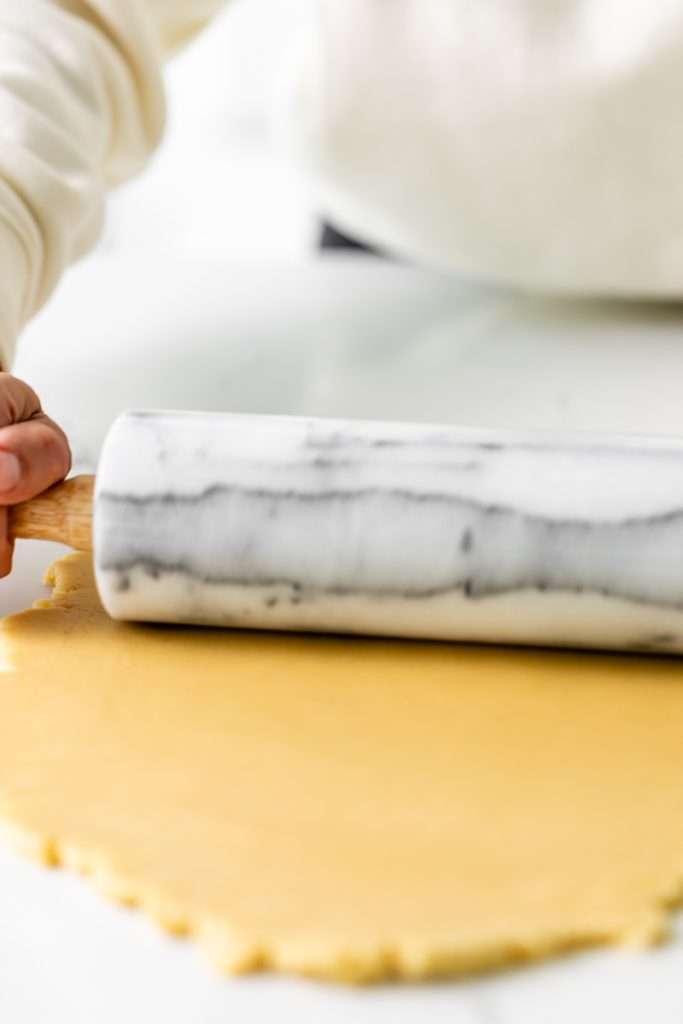
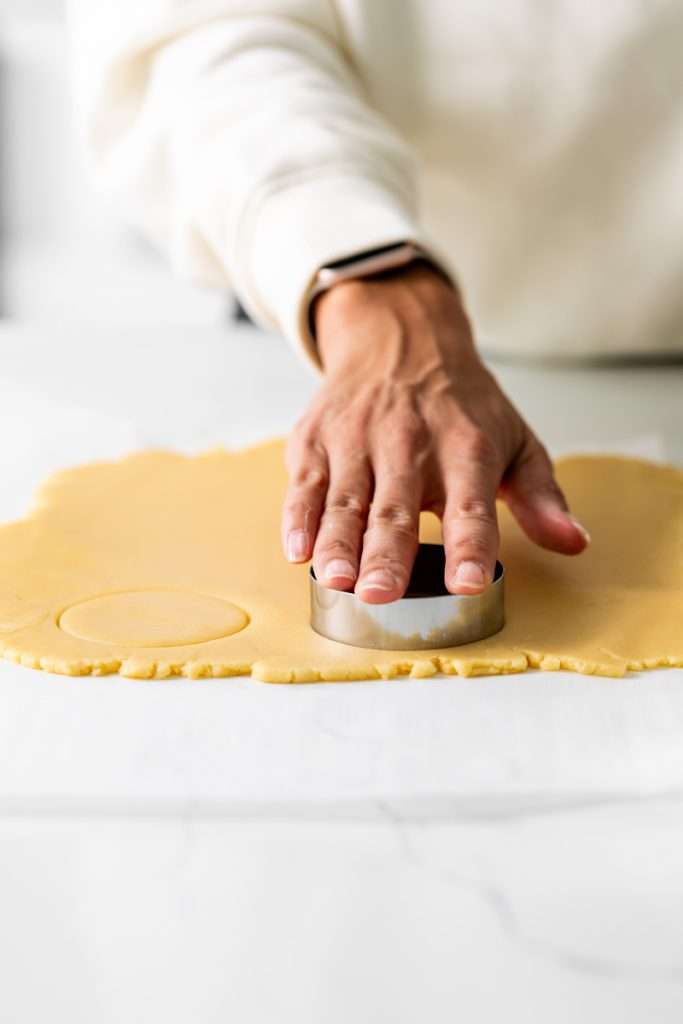
Making the sugar cookies takes under 30 minutes from start to bake! Once the dough has formed, I recommend rolling out onto parchment and cutting the shapes far enough apart that you can peel away the excess dough and transfer directly to the oven for baking. This will ensure that the cookies maintain their circular shape.
How to make the Royal Icing
The royal icing is pretty quick to make with meringue powder, powdered sugar, extract or flavoring of choice, food coloring and warm water. Start by whisking the meringue powder and water together in a stand mixer until it forms very soft peaks, then mix in the icing sugar and extract. Once fully combined, the icing becomes thick like toothpaste. With a few drops of water for thinning slightly, this icing consistency is perfect for piping the trees and snowmen using star tips and round tips.
Royal Icing Colors
You will need 5 colors of royal icing for these cookies. Most of the icing will be colored green and white, with a small portion colored orange, black and pink. All of the icing is piping consistency, except for a portion of the white icing which is thinned to flood consistency, to create the base of the each cookie scene. Divide the icing into 5 separate bowls.
White Royal Icing Base and Snowmen:
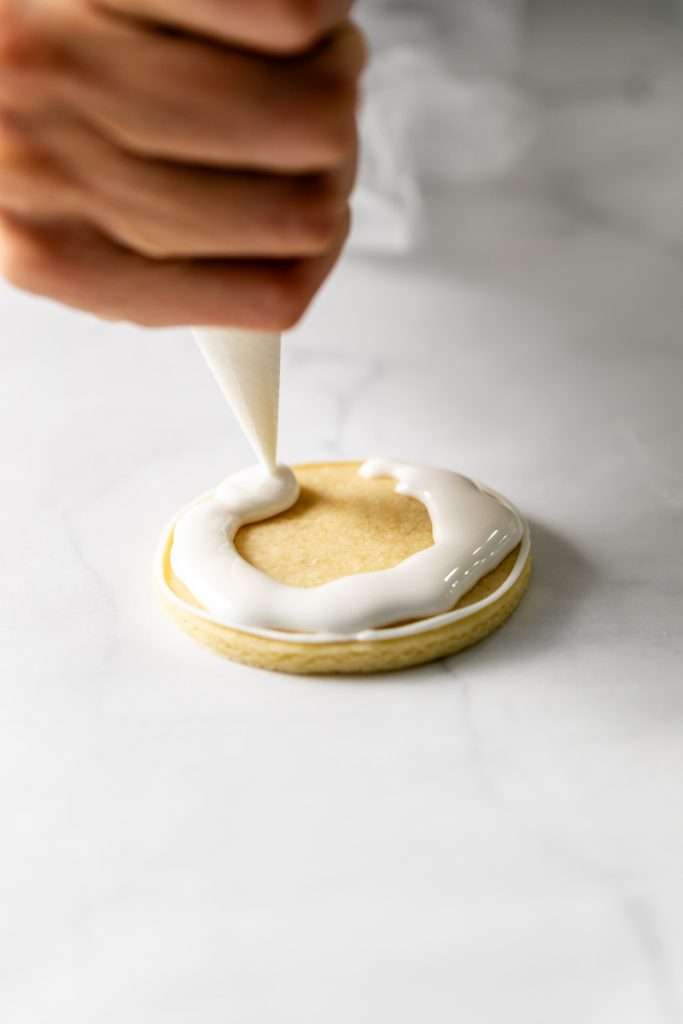
- Tipless piping bag for outlining the sugar cookies.
- Piping bag fitted with round tip 12 to pipe the snowman.
- Thinned remaining white icing to flood consistency (5 second icing) for flooding cookies.
Green Icing Trees:
- Use green and brown food coloring in the piping consistency icing to create the forest green icing trees.
- Divide and transfer icing to two piping bag fitted with tips 4B and 32
Decorative details
- Divide remaining thick piping icing between three bowls.
- Color each bowl with a dash of black coloring for snowman details, pink coloring for scarves, and orange coloring for the carrot nose.
- Transfer each colored icing to tipless piping bags for decorating.
Royal Icing consistency
Like the fall pumpkin cookies, these winter cookies are easier to decorate because of the royal icing consistencies. Since majority of the icing is a detail consistency (thick) it’s simple to pipe directly onto the sugar cookies. It also dries faster than flood consistency icing, so you can quickly add the trees and snowman and enjoy them even sooner, once the base flood icing has dried!
Decorating the winter sugar cookies
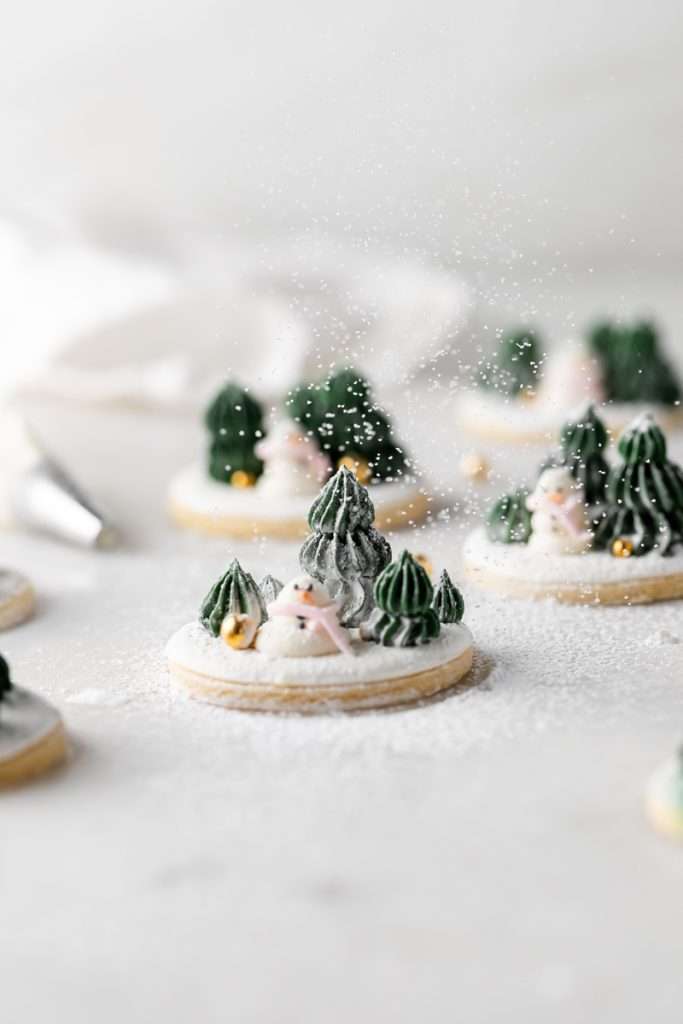
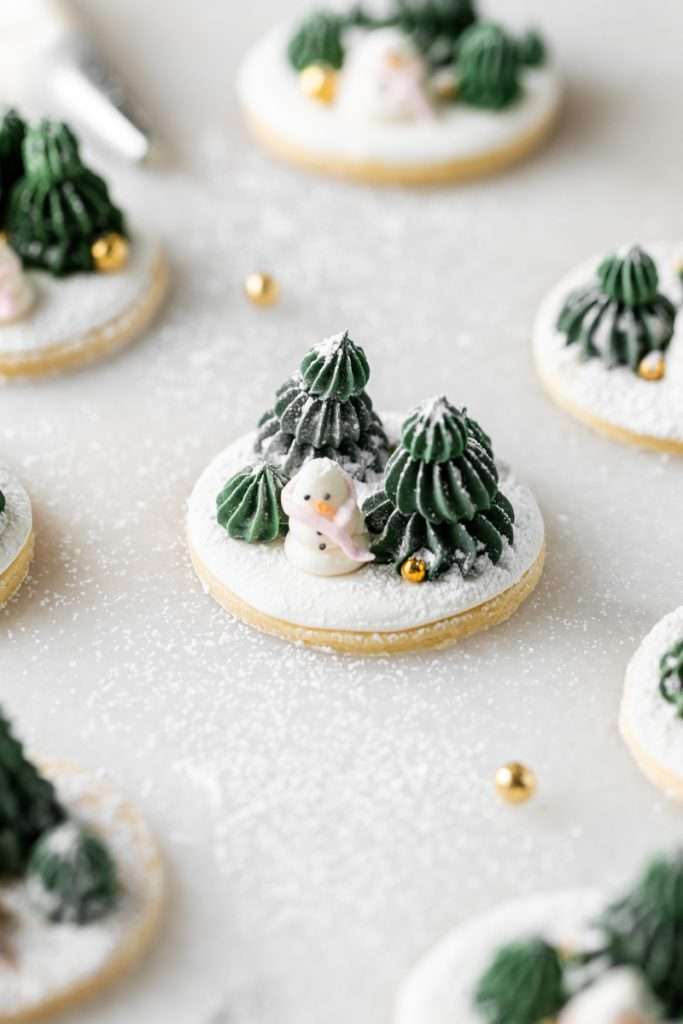
Once the base flood icing has been added to the cookies and dried, the remaining details will come together quickly! Use the larger star tip 4B to pipe the first two tiers of the trees and tip 32 to pipe the top of the trees. Pipe additional stars (trees) onto the base to create the 3 dimension scenes.
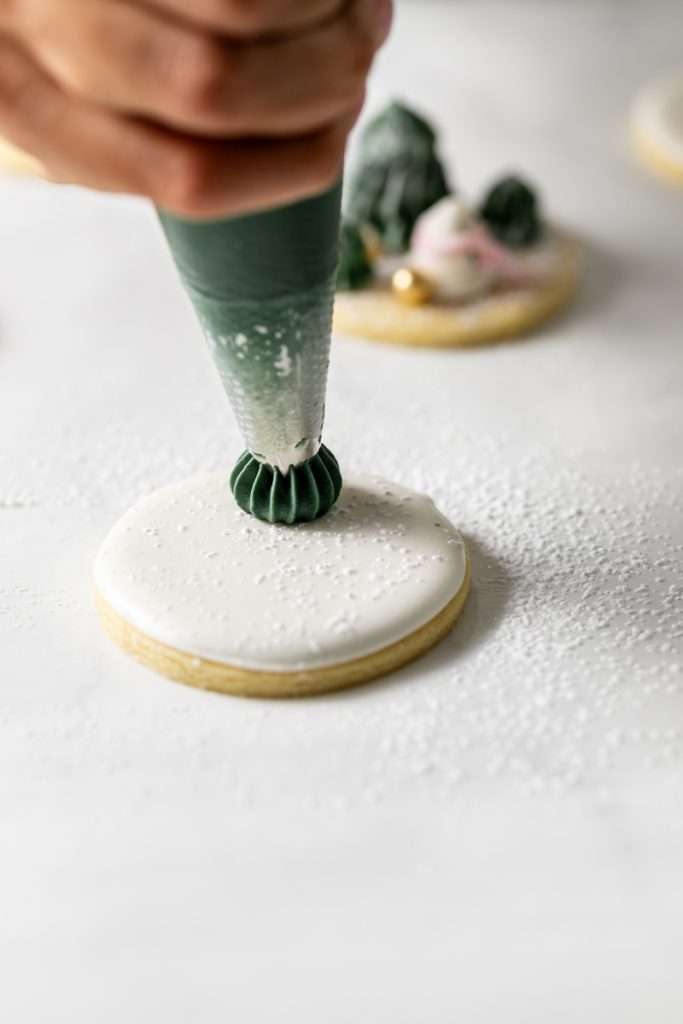
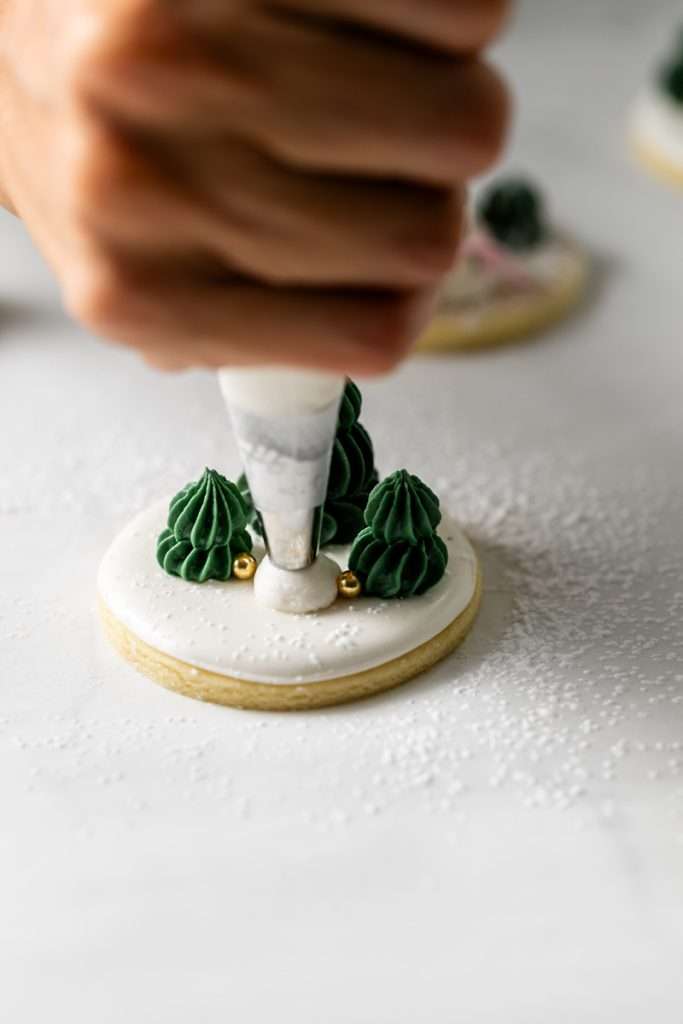
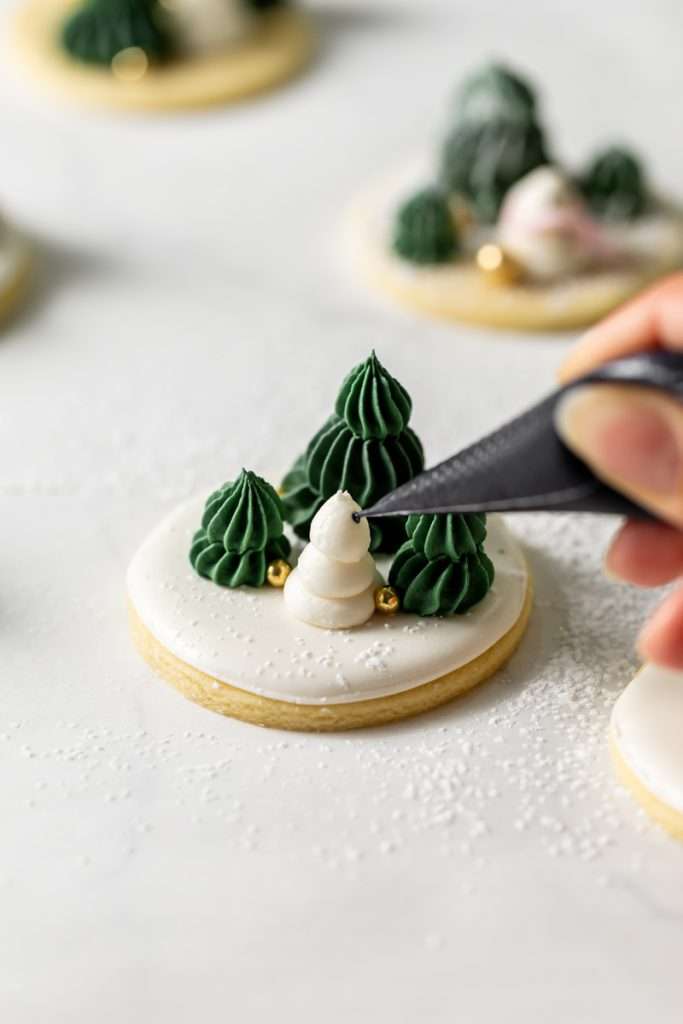
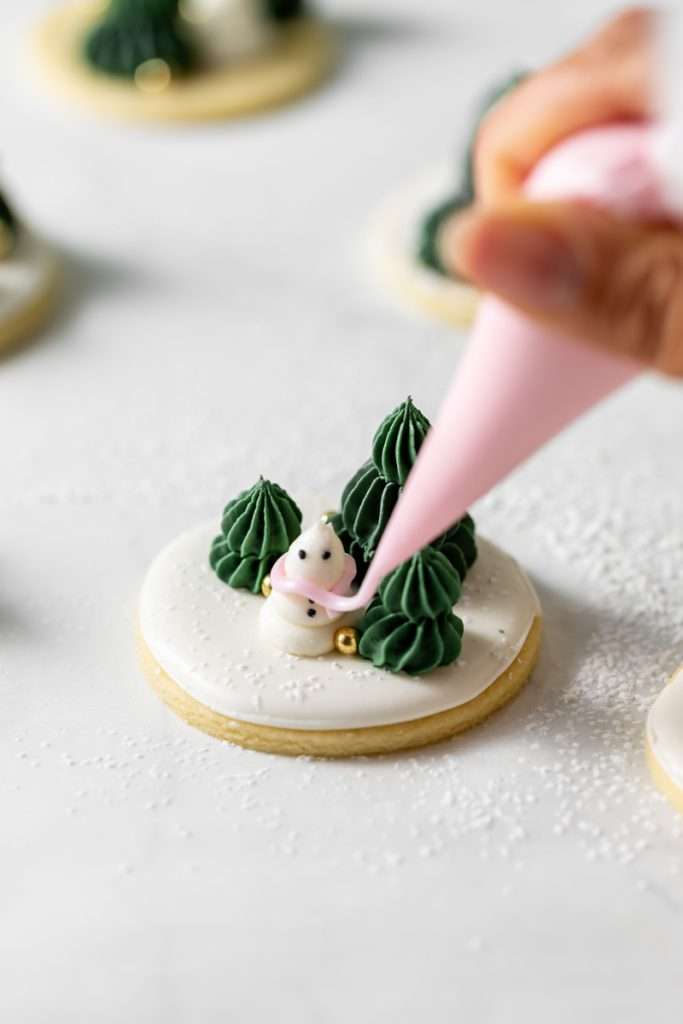
Then use round tip 12 to pipe the snowmen, finishing with decorative details and a dusting of powdered sugar.
This post contains affiliate links which means I may earn a commission if you choose to make a purchase using the highlighted links included in the post.

Winter Sugar Cookies with Royal Icing
- Prep Time: 45
- Cook Time: 10-12 minutes
- Total Time: 1 hour
- Yield: 2 dozen+ 1x
- Category: Baking
- Method: Sugar Cookies
- Cuisine: Dessert
Description
Cute winter themed cut out sugar cookies decorated with three dimension trees and snowmen, on a bed of royal icing. Dusted with powdered sugar and finished with gold dragees!
Ingredients
- 3/4 cups butter of choice (softened)
- 1 cups granulated sugar
- 2 eggs
- 2 tsp Vanilla
- 2 1/2 cups flour
- 1 tsp baking powder
- 1/2 tsp salt
- 4 cups confectioners sugar
- 1/4 cup meringue powder
- 1/2 cup warm water
- 1/2 tsp vanilla extract
- Green, brown, black, pink and orange gel food coloring
- Tipless piping bags
- Star piping tips: 4B & 32 & round tip 12
Instructions
- Pour measured flour, baking powder and salt into a bowl and mix until combined. Set aside.
- In the bowl of a stand mixer, mix butter and sugar together for 3 minutes until light and fluffy.
- Use a rubber spatula to scrape down the edges of the bowl.
- Beat the eggs and vanilla extract into the butter and sugars until smooth and fully combined.
- Pour dry flour mixture into the butter, egg and sugar on mixing medium.
- Mix until the the cookie dough forms and attaches to the paddle, leaving the mixing bowl clean.
- The mixing bowl should be mostly clean when the dough is ready to roll out.
- No chilling required.
- Preheat oven to 400 degrees.
- Lightly flour a rolling pin and a sheet of parchment paper.
- Roll out the sugar cookie dough to about 1/4 ” thick.
- Cut the dough into circle shapes using a cookie or biscuit cutter, a glass will also work.
- Leave about 1″ between each cut cookie.
- Remove the excess dough surrounding each cut shape, then transfer the cookies on parchment to a baking sheet and place in the oven.
- Bake in the middle rack for just under 5 minutes. 6 minutes if you prefer a crisper cookie.
- Remove from oven and cool completely before decorating with royal icing.
- Repeat steps for remaining dough.
- Cookies are over-baked with the edges or bottoms are brown.
FOR THE ROYAL ICING:
- Combine the water and meringue powder in the bowl of an electric or stand mixer.
- Whisk on medium high for about 3 minutes until the mixture becomes foamy and forms very soft peaks.
- Then switch to a paddle attachment and pour in the powdered sugar. Mix on medium for another 1-2 minutes until the icing is thick like toothpaste. Add additional warm water a few drops at a time until the icing is a thick piping consistency and still holds its form.
- Mix in vanilla or extract of choice.
- Scoop the piping icing into 5 bowls putting most in the first two bowls and the remaining icing divided between the 3 leftover bowls.
- Transfer a small portion of the thick white icing to a tipless piping bag. This will be used for details. Then transfer a 1/3 of the remaining white icing to a piping bag fitted with round tip 12 for the snowmen, sealing closed. Lastly, thin the remaining white icing with warm water, a few drops at a time to flood consistency. I like to use the 5 second rule: Run a spoon through the icing and any lines will disappear in 5 seconds. That’s how you know when the icing is ready. Transfer flood white icing to a tipless piping bag and seal closed.
- Color remaining icing with 3-4 drops of green gel coloring and a few drops of brown to create the forest green hue. Mix until combined. Divide between two piping bags fitted with tips 4B and 32 and seal closed.
- Color remaining bowls of icing with orange, pink and black gel coloring until desired colors are achieved. Transfer each to tipless bags and seal closed.
Winter icing decorations:
- Start by using the white piping icing and pipe a border along the outside edge of each of cookie.
- Then use the thinned white icing to fill or flood the cookies, blending in any imperfections with a scribe or toothpick.
- Set the cookies aside for one hour to set.
- Once the flood icing has set, create the 3 tier trees by piping 1 green star onto the cookie, followed by an additional star on top of the first star. Then switch to piping bag 32 to pipe the tops of the trees for the 3 dimension effect. Complete the tree designs by piping additional stars of green icing in placement of choice onto the base of the cookies.
- To create the snowmen, use the white icing with round tip 12 to create the base of the snowman. Top with two additional dollops of white icing.
- Use the black icing to pipe the eyes and buttons onto each snowman, the orange icing for the nose and the pink icing for the scarves.
- Lastly decorate the cookies with gold dragees and dust with powdered sugar for the finished wintery look!
- Repeat steps for all cookies piping the trees and snowmen in varying places and sizes so each cookie is unique.
- Set aside to dry for at least one hours.
- Enjoy!
Notes
The cookies can be made in advance and frozen for up to 3 months.
These wintery decorated sugar cookies are the sweetest new addition to your holiday baking plans! They’re easy for kids to decorate and perfect for holiday baking parties and cookie exchanges.

Use icing in any color of choice to create the winter cookie scenes of your dreams!
Happy baking! If you loved today’s treat, be sure to bookmark and save the recipe over on Pinterest!
Also, clink on the link to my Amazon shop where you can purchase the supplies to make these cute cookies at home!

This post titled Winter Sugar Cookies with Royal Icing was seen first on Posh Little Designs. All Rights Reserved. 2023