


Easy Pumpkin Decorated Sugar Cookies
Fall has arrived and we’re officially in cookie baking mode. Starting off with simple chocolate cutout sugar cookies, decorated with pumpkin patch royal icing. Although the cookies are made with royal icing, you don’t have to be a decorating expert to create the easy pumpkin cookie design. Rely on star piping tips to achieve the cute pumpkin shapes, in a variety of fall-like colors and voila! You’ve got the cutest fall cookies on your hands, that will pair oh so perfectly with your favorite beverage! In addition to being delicious, they’re gonna look so cute served on a platter at your next fall gathering!

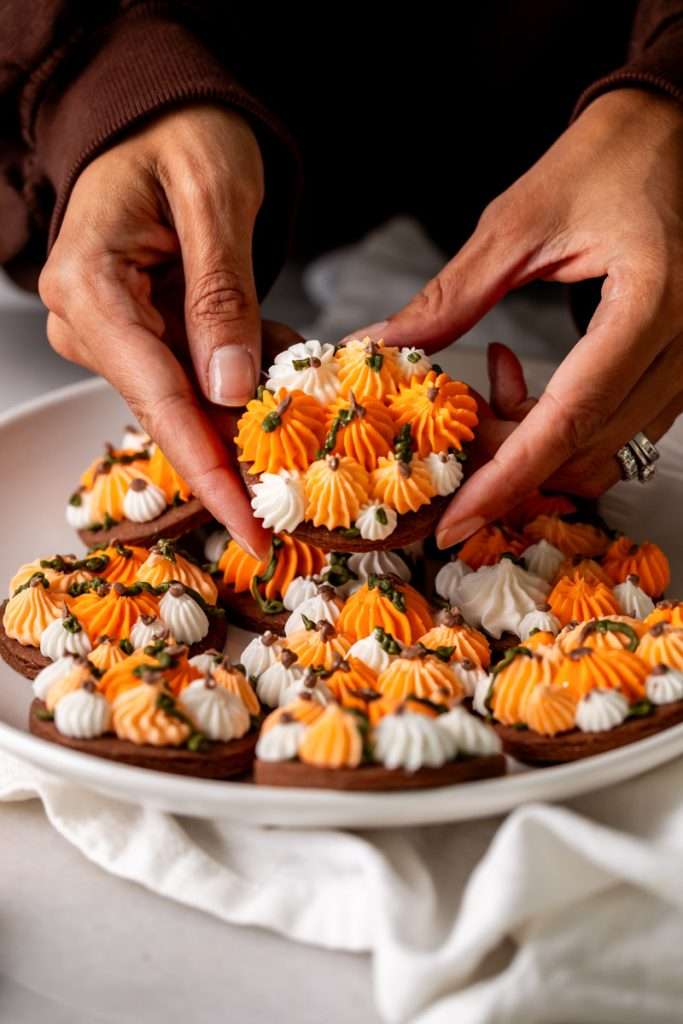
Easy Pumpkin Decorated Sugar Cookies
Cute chocolate cutout sugar cookies, decorated with easy pumpkin patch icing. They’re soft and delicious and perfect for fall gatherings, with a dairy free option included!
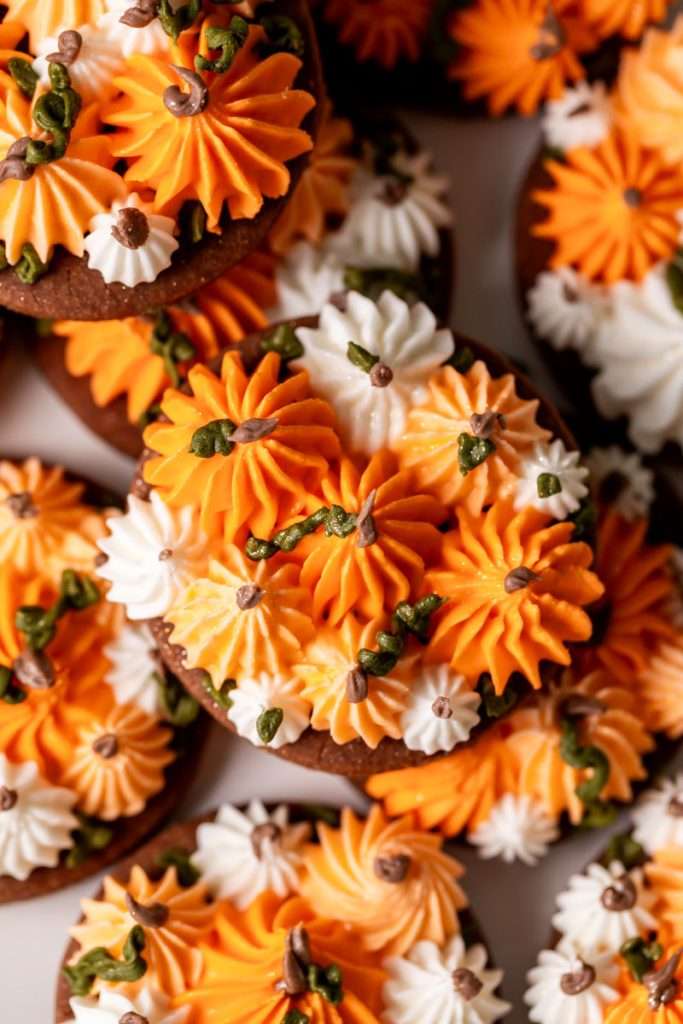
Chocolate Sugar Cookies
Although I love a classic sugar cookie, adding cocoa powder to the base sugar cookie dough transforms them in taste and color. Full of rich chocolatey flavor the chocolate sugar cookies look and taste delicious in contrast to the vanilla flavored icing in lovely orange tones.
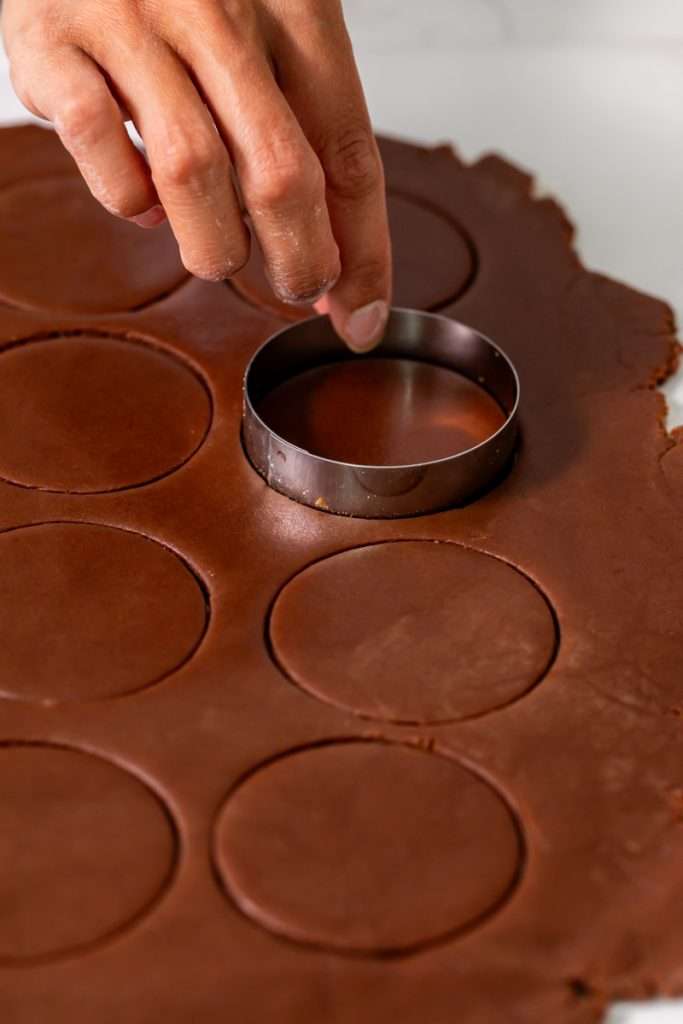
How do you make chocolate sugar cookies?
Making chocolate sugar cookies is just as easy as making a batch of regular sugar cookies. Replace a portion of the flour with the cocoa powder for the cookie recipe. It rolls out and bakes just the same, the only difference is the addition of cocoa and espresso powder.
What cocoa powder should I use?
I generally bake with Hershey’s Natural Unsweetened 100% Cacao and would recommend using it for the chocolate cookies. Other natural brands may work as well but can sometimes change the consistency of the dough, so Hershey’s is preferred.
How to make the Royal Icing
Royal icing is easy to make with meringue powder, powdered sugar, extract or flavoring of choice, food coloring and warm water. I like to start by whisking the meringue powder and water together in a stand mixer until it forms very soft peaks, then mixing in the icing sugar and extract. Once fully combined, the icing becomes thick like toothpaste. With a few drops of water for thinning slightly, this icing consistency is perfect for piping the pumpkin patch decorations or adding details to cookies.
Royal Icing consistency
What makes these pumpkin patch cookies so easy to decorate is the royal icing consistency, which requires no flooding. Since the icing is a detail consistency (thick) it’s simple to pipe directly onto the chocolate sugar cookies. It also dries faster than flood consistency icing, so you can quickly add the pumpkin patch vine and leaf details and enjoy them shortly after decorated!
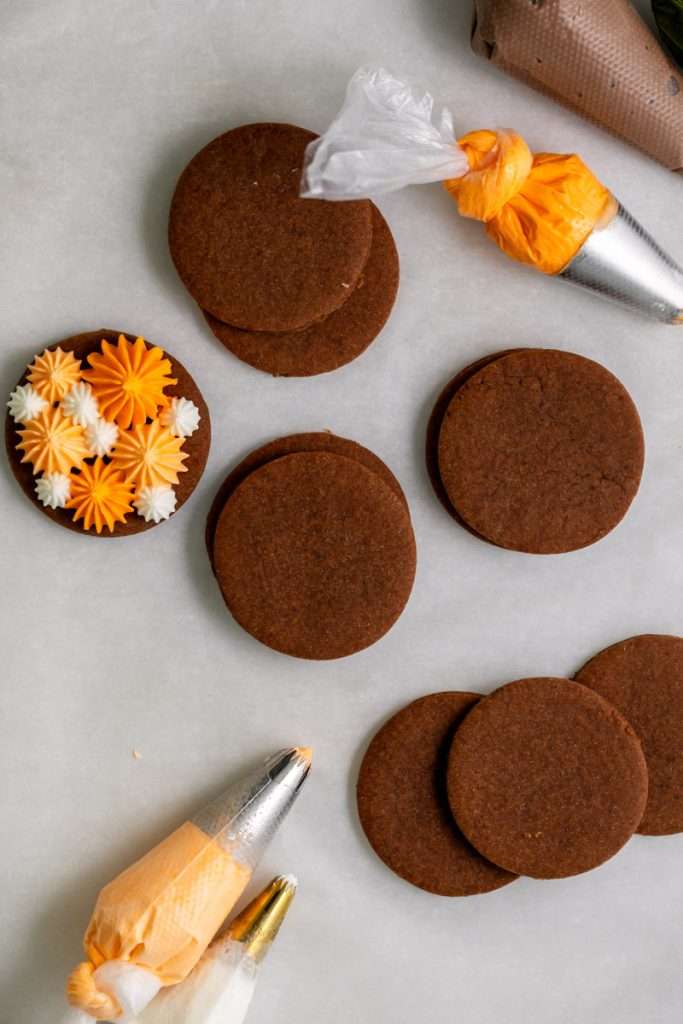
Decorating the pumpkin patch sugar cookies
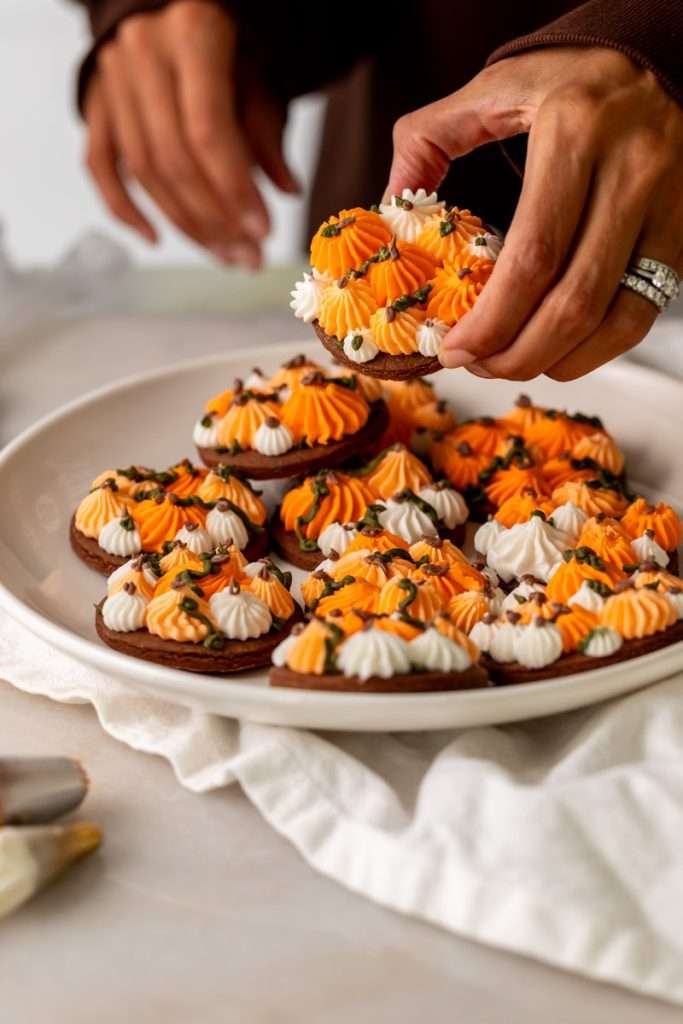
Of all the cookies to make with royal icing, these pumpkin patch cookies are great place to start, because the decorations are a breeze. The most time consuming part of making the cookies is coloring the icing, however once the icing is ready, they’ll take about 30 minutes to decorate from start to finish! The star shapes will act as the pumpkins in this pumpkin patch design, varying in colors and sizes.
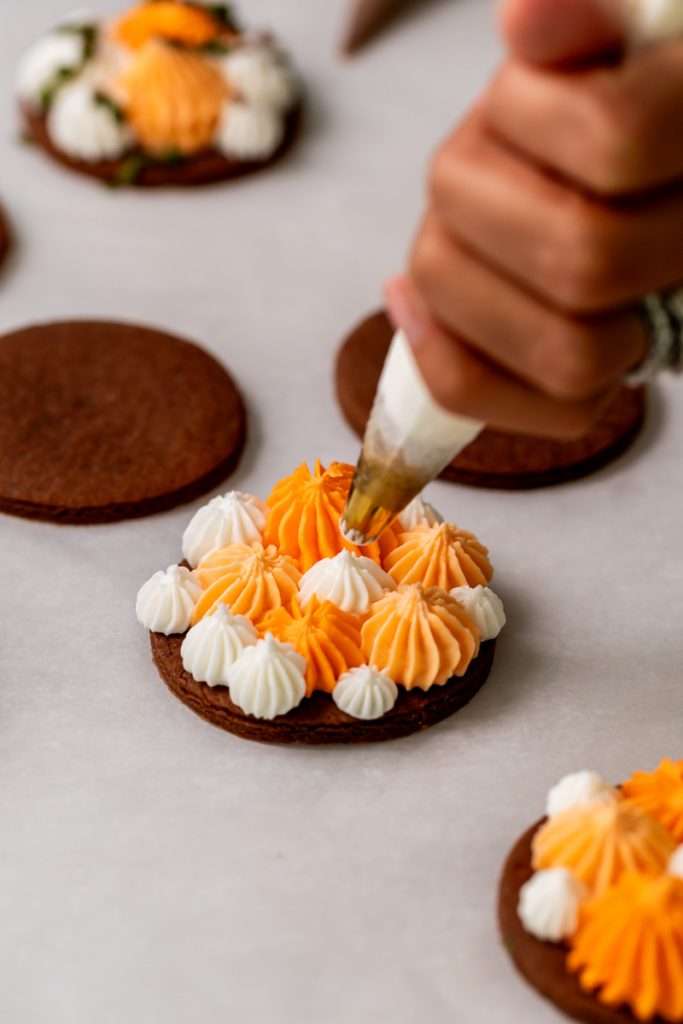
Starting with piping tip 6B. Pipe a large orange star onto the cookie pulling upwards while easing off the bag. Pipe an additional large orange star onto the cookie and then fill the open space with piped soft orange and white stars (smaller pumpkins).
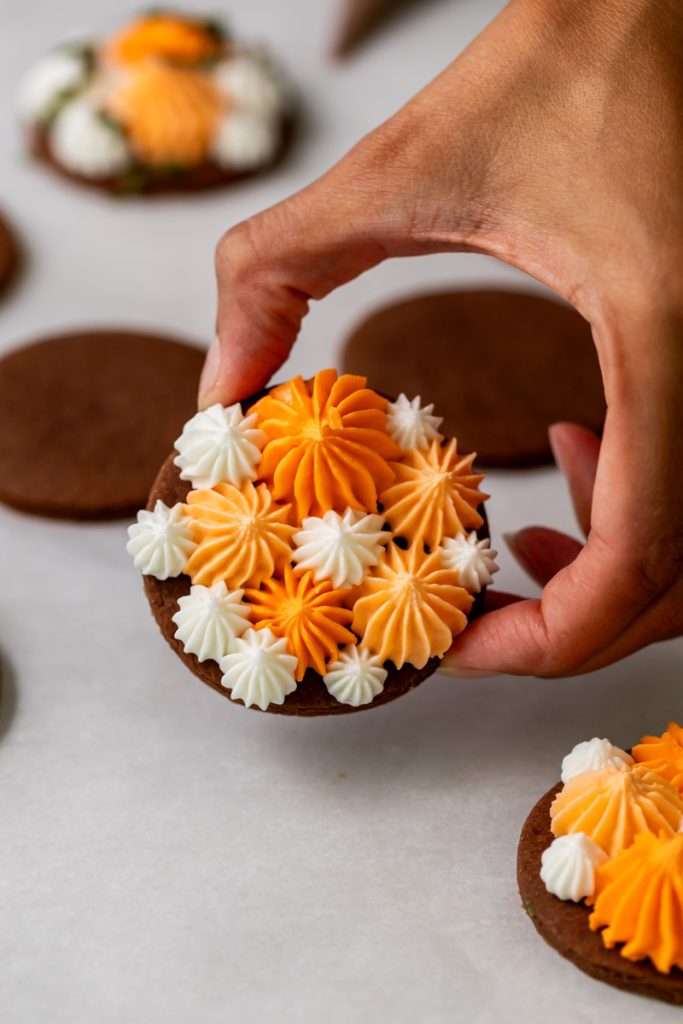
Complete the decorated look by piping stems, vines and leaves. Dust with edible glitter and set aside for an hour or two to dry before serving.
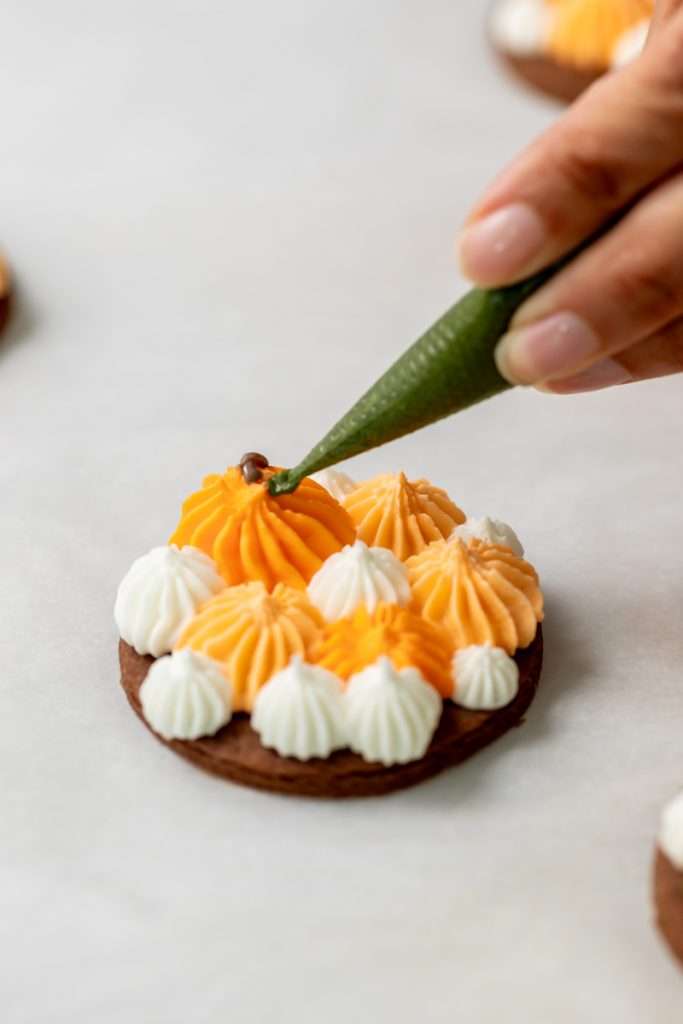
Repeat steps for all cookies, creating different pumpkin designs in varying shapes and sizes for the remaining cookies.
Easy Pumpkin Patch Decorated Cookies
- Prep Time: 45
- Cook Time: 5 minutes per batch
- Total Time: 0 hours
- Yield: Roughly 2 dozen 1x
- Category: Baking
- Method: Pumpkin Sugar Cookies
- Cuisine: Dessert
Description
Cute chocolate cutout sugar cookies, decorated with easy pumpkin patch icing. They’re soft and delicious and perfect for fall gatherings, with a dairy free option included!
Ingredients
- 3/4 cups butter of choice (softened)
- 3/4 cups granulated sugar
- 1 large egg
- 1 tsp vanilla extract
- 2 1/2 cups all purpose flour
- 1/4 cups Hershey's Unsweetened Cocoa
- 1 tsp baking powder
- pinch of espress
- 4 cups confectioners sugar
- 1/4 cup meringue powder
- 1/2 cup warm water
- 1/2 tsp vanilla extract (look for gluten free for gf cookies)
- Orange, brown and green gel food coloring
- Tipless piping bags
- Star piping tips: 6B 4B & 132
Instructions
- Pour measured flour, cocoa powder, espresso powder, baking powder and salt into a bowl and mix until combined. Set aside.
- In the bowl of a stand mixer, mix butter, sugar for 2-3 minutes until light and fluffy.
- Use a rubber spatula to scrape down the edges of the bowl.
- Beat the egg and vanilla extract into the butter and sugars until smooth and fully combined.
- Pour flour and cocoa powder mixture into the butter, egg and sugar on medium.
- Mix until the the cookie dough forms and attaches to the paddle, leaving the mixing bowl clean.
- Note: if the dough feels a little sticky, add additional flour 1tbsp at a time.
- The mixing bowl should be mostly clean when the dough is ready to roll out.
- No chilling required!
- Preheat oven to 400 degrees.
- Lightly flour a rolling pin and a sheet of parchment paper.
- Roll out the chocolate sugar cookie dough to about 1/4 ” thick.
- Cut the dough into circle shapes using a cookie or biscuit cutter, a glass will also work.
- Leave about 1″ between each cut cookie.
- Remove the excess dough surrounding each cut shape, then transfer the cookies on parchment to a baking sheet and place in the oven.
- Bake in the middle rack for just under 5 minutes or closer to 6 minutes if you prefer a crisper cookie.
- Remove from oven and cool completely before decorating with royal icing.
- Repeat steps for remaining dough.
- Cookies are over-baked with the edges or bottoms are brown.
Royal Icing:
- Combine the water and meringue powder in the bowl of an electric or stand mixer.
- Whisk on medium high for about 3 minutes until the mixture becomes fluffy and forms very soft peaks.
- Then switch to a paddle attachment and pour in the powdered sugar. Mix on medium for another 1-2 minutes until the icing is thick like toothpaste. Add additional warm water a few drops at a time until the icing is thick piping consistency.
- Mix in vanilla or extract of choice.
- Scoop the piping icing into 4 bowls putting more in the bowls for the two orange tones, and less for the brown and green tones, also be sure to reserve some of the white icing for the white pumpkins.
- Transfer reserved plain white icing to piping bag fitted with small star tip 132 and seal closed.
- Add 3-4 drops of orange gel coloring to icing bowl 1, for the darkest pumpkin design, and mix until combined. Transfer to piping bag fitted with tip 6B seal closed.
- Add one drop of orange gel coloring to icing bowl 2 for the softer pumpkin design and mix until combined. Transfer to piping bag fitted with tip 4B and seal closed.
- Add 4 drops of brown gel coloring to icing bowl 3 for the stems and mix until combined. Transfer to tipless piping bag and seal closed. (no tip needed).
- Add 3 drops green and 1 drop brown to icing bowl 4 and mix until combined. Transfer tip tipless piping bag and seal closed. (no tip needed).
- Add more gel coloring if needed to achieve the desired hues for each color of royal icing.
Pumpkin patch icing decorations:
- Place the chocolate cookie on a solid surface.
- Start with the orange icing fitted with the large star tip 6B.
- Using placement of choice pipe 1 star shape onto the cookie, by squeezing down, then pulling upwards and easing off the bag to create the pumpkin design.
- Pipe an additional large pumpkin shape onto the cookie in placement of choice.
- Fill in the open space by piping the light orange and white icing star shapes onto the cookie.
- Fill each cookie with the star shapes in varying colors and sizes to create the look of the pumpkin patch.
- Then snip a small tip off the brown piping bag to pipe the stems onto the pumpkins.
- Finish by piping green vines and leaves along the sides and edges of the pumpkins to complete the pumpkin patch design.
- Dust with a little edible glitter and repeat decorating steps for all remaining cookies, piping the star shapes in varied decorations, so each cookie is slightly different.
- Set aside to dry for at least two hours.
- Enjoy!
Notes
These cookies store well in an airtight container for up to 3 days. Freeze for up to 6 months.
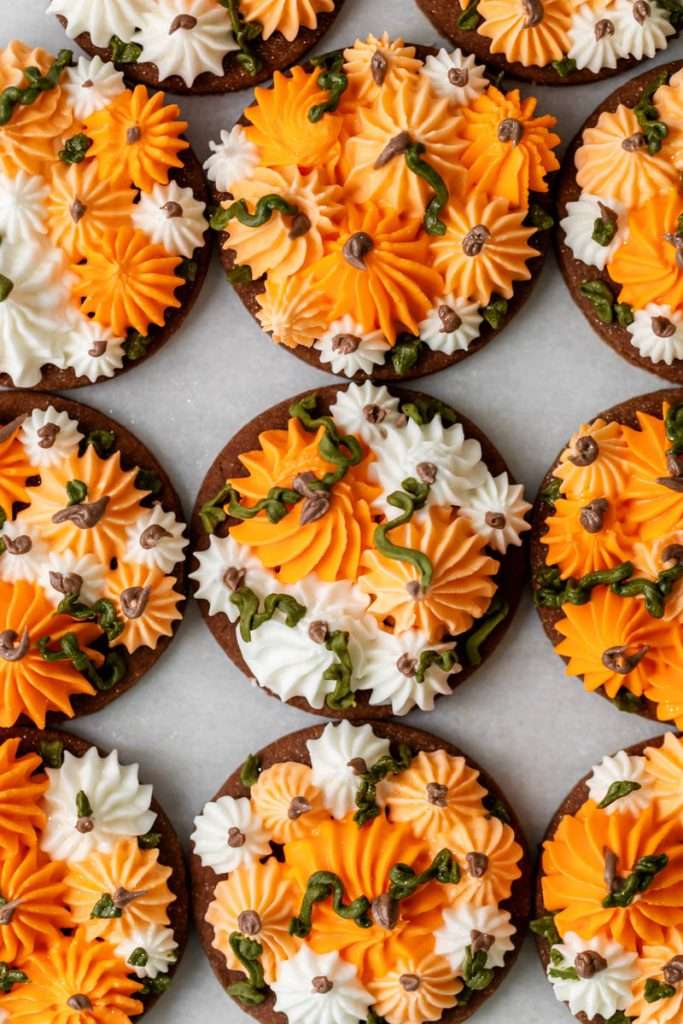
These pumpkin patch decorated sugar cookies are a wonderful treat to kick off your seasonal baking! They’re also a cookie easy for kids to make and decorate at harvest parties and celebrations and can even be packaged and given away as favors!
Pumpkins and gourds come in variety of colors, which you can experiment with when making a batch!
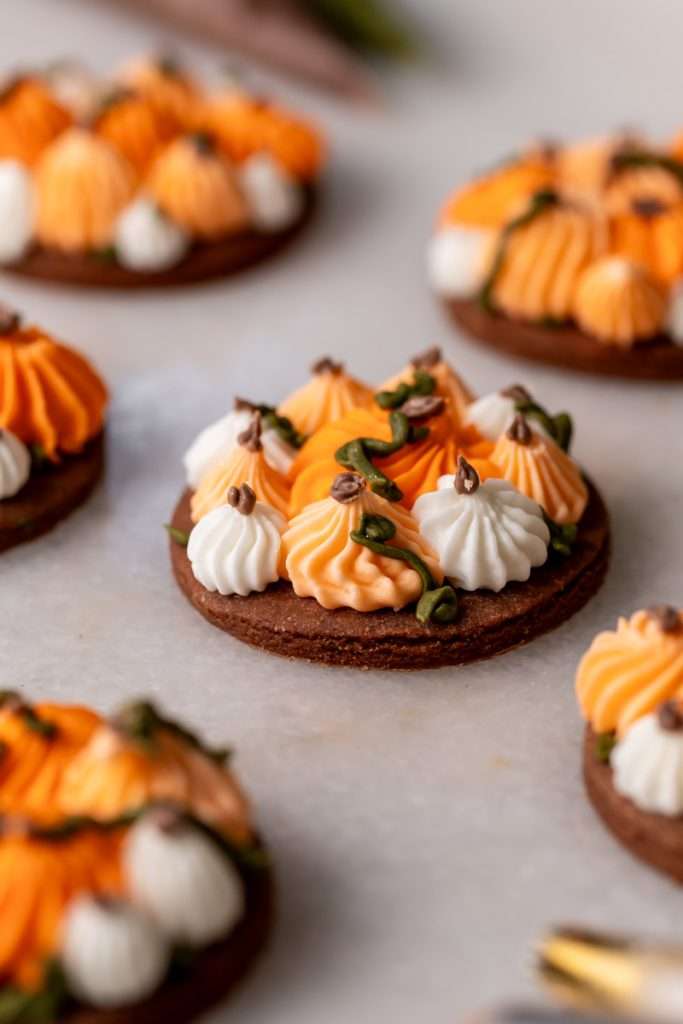
Happy baking! If you loved today’s treat, be sure to bookmark and save the recipe over on Pinterest! Also, clink on the link to my Amazon shop where you can purchase the supplies to make a batch of your own!
This post contains affiliate links which means I may earn a commission if you choose to make a purchase using the highlighted links included in the post.

This post titled Easy Pumpkin Decorated Sugar Cookies was seen first on Posh Little Designs. All Rights Reserved. 2023


So gorgeous! You have created some of my favorite flavors and color palette together in a cookie! They’re playful and inviting and beautiful! I love all the step by step instructions and the video is mesmerizing. Amazing photos that deserve a magazine cover. xoxo
Aw, thank you soo much for the sweet comment! They’re super easy and fun for the holidays!
They’re so pretty. My only worry is that there’s too much royal icing and it will be way to sweet. How did they taste? Thank you.
Thank you! They taste wonderful! We didn’t find them to be too sweet. I cut the sugar in the cookie recipe intentionally to balance the sweetness of the royal icing but you can also use buttercream to decorate the cookies.