


Tiramisu Macarons
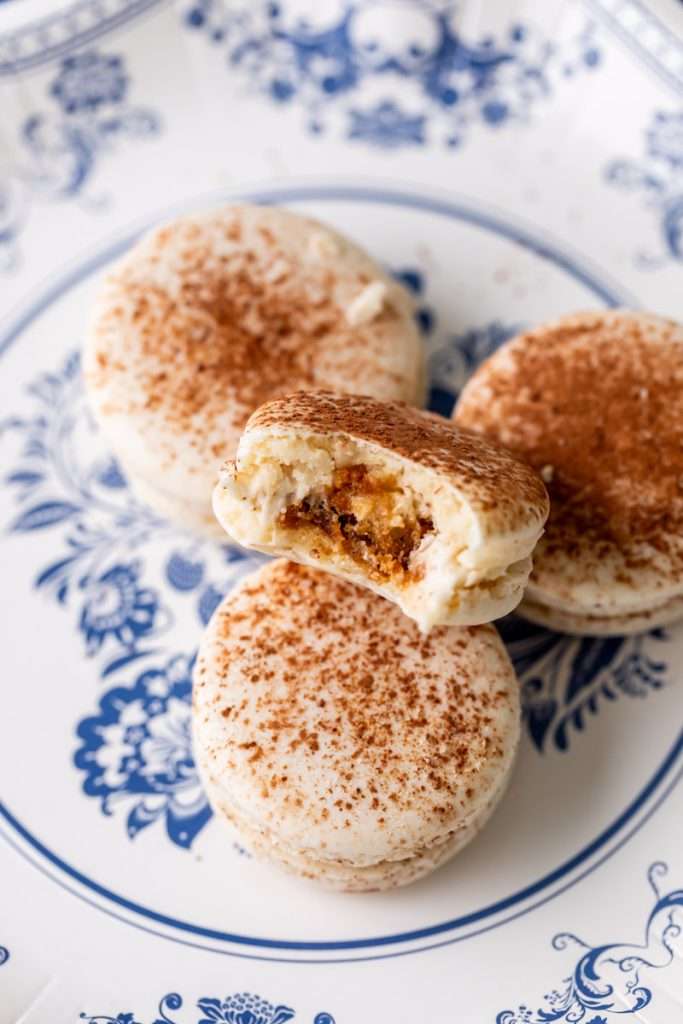
I’m always looking for new desserts to turn into macarons, and tiramisu was the newest and yummiest contender! Known as one of the most popular no-bake desserts, with layers of coffee soaked lady fingers and creamy mascarpone, tiramisu is as dreamy as it is delicious, also making for heavenly macarons. The cocoa dusted macaron shells act as the vessel for tiramisu filling, complete with a coffee soaked ladyfinger center. Perfect for tiramisu and macaron lovers alike, this French twist on classic tiramisu, is bite sized, with no utensils required. Also a highlight at Amaia’s Amalfi Coast inspired birthday last month, I couldn’t wait to share the recipe with you!
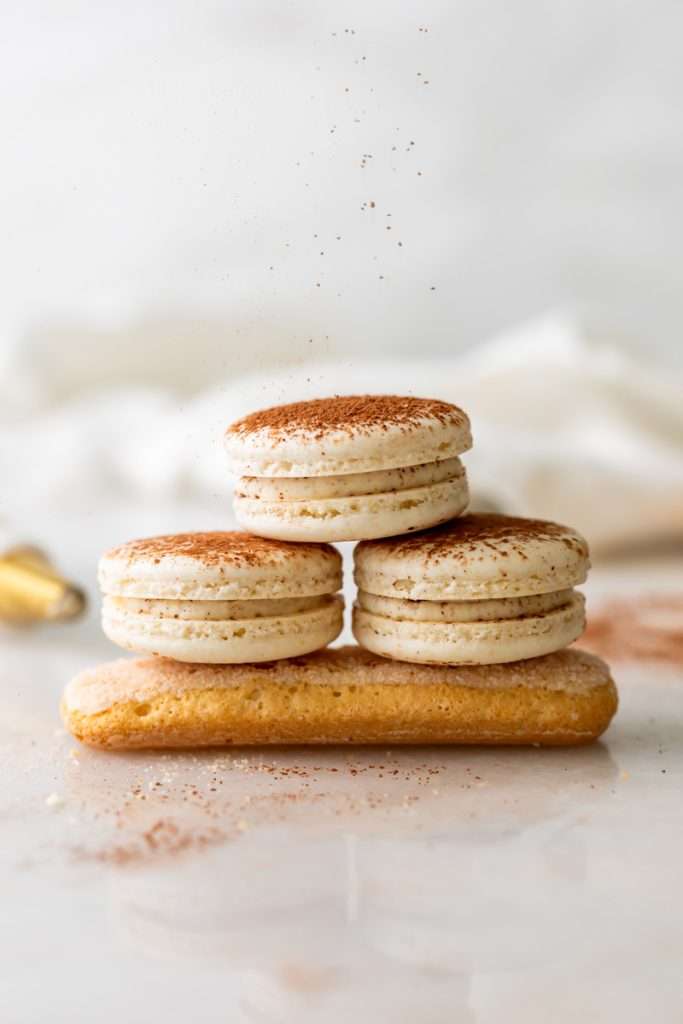
Tiramisu Macarons
Tiramisu flavored macarons, with a sweet mascarpone filling and coffee soaked ladyfinger center. Decorated with a light dusting of cocoa powder to mimic the look of tiramisu.
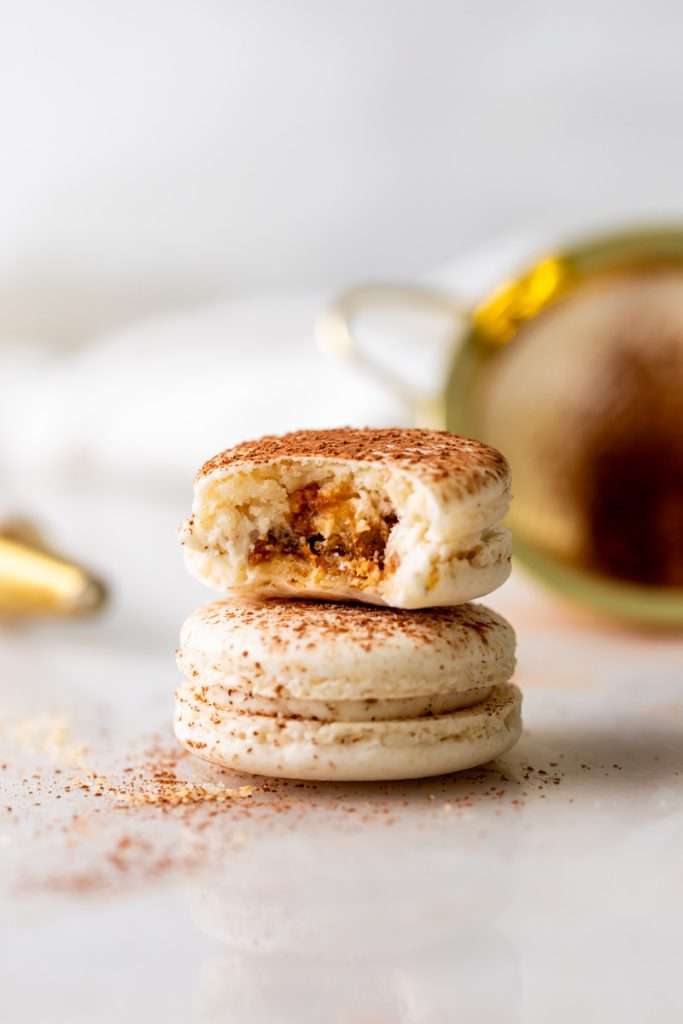
The Best Tiramisu Macarons
What makes these tiramisu macarons the very best is the filling! Replicating tiramisu ingredients in the macarons, such as the coffee soaked ladyfingers, really enhances the dessert flavor for the ultimate tiramisu bite!
Although the macaron shells are gluten free, the ladyfingers are not and the filling is made with mascarpone, but could be omitted for a dairy free variation.
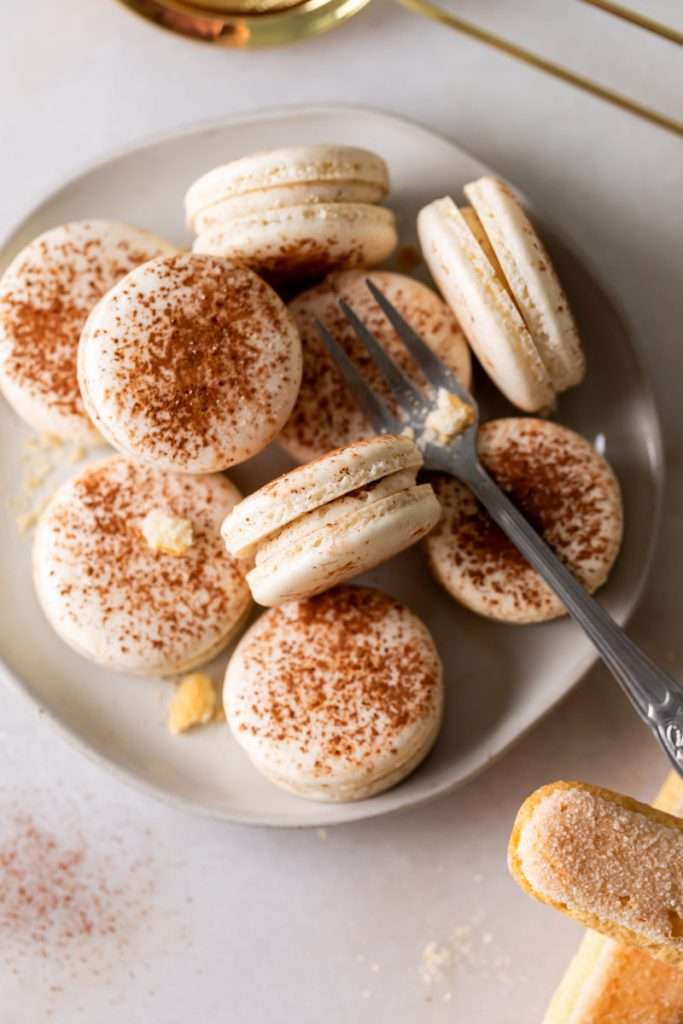
How Do You Make Tiramisu Macarons?
Making tiramisu macarons is a step by step process, but the filling is easy with the addition of store bought ladyfingers. Here are the different components that make up these dessert flavored macarons:
- Macaron shells: Italian Meringue macaron shells dusted with cocoa powder.
- Tiramisu frosting. A mix of mascarpone, organic shortening (or butter), confectioner’s sugar, salt, vanilla and espresso powder.
- Soaked ladyfingers. Store-bought ladyfingers soaked in chilled espresso. Although tiramisu is commonly made with liquor, I omitted it from the macarons since the original batch was made for my daughter’s birthday.
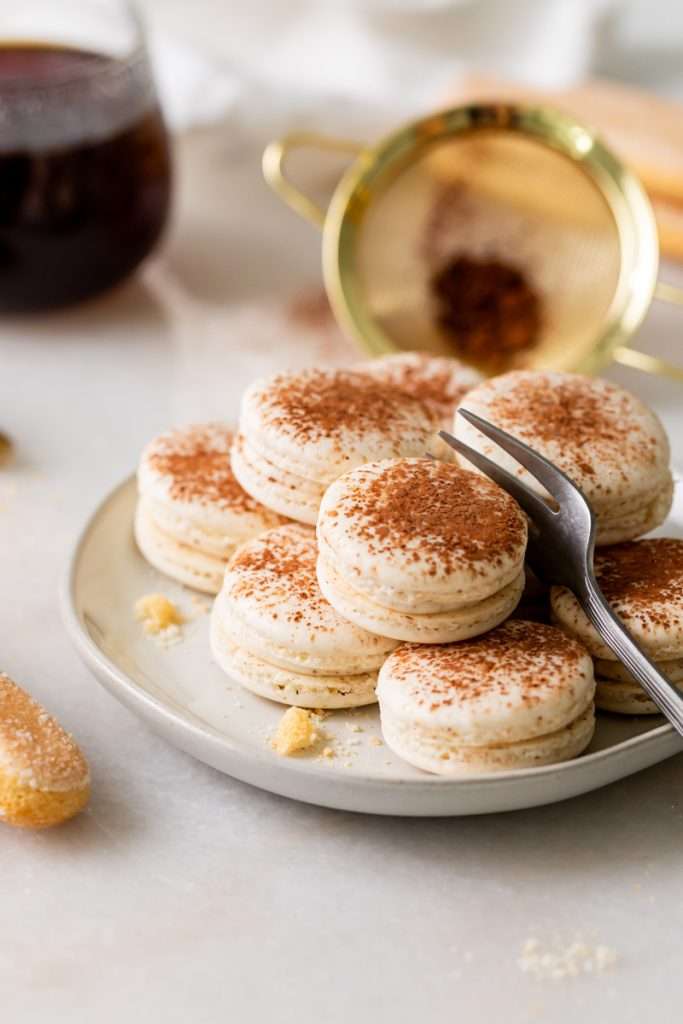
To make the macaron shells, follow the recipe below. You can also check out my step by step macaron baking tips here.
Once the macaron shells have been prepped and baked. Prepare the tiramisu frosting.
Pour all of the ingredients for the tiramisu frosting into the mixing bowl and mix with a paddle attachment until light and fluffy. Transfer to a piping bag fitted with a round tip.
Prep the ladyfingers by very quickly dipping each side into a bowl of chilled espresso (do not soak as they will turn to mush.) Then cut the dipped ladyfingers into bite sized pieces to fit snugly into the center of each macaron. Set aside until ready to assemble.
The dipped ladyfingers fit perfectly between the tiramisu frosting, resulting in the most delicious and addictive tiramisu macarons!
Can I use butter in place of shortening in the filling?
Yes! Using organic shortening in the filling is by preference. I use it for macarons as an easy dairy free replacement, however since this recipe already has mascarpone in the filling, butter would make a delicious alternative. I recommend increasing the powdered sugar a bit to achieve the right consistency.
Assembling the Tiramisu Macarons
Assembling the macarons is a breeze! First, match up the macaron shells, then place one shell on its back with the feet side up. Pipe a round of tiramisu frosting along the outside edge of the macaron shell. Then place the cut pieces of soaked ladyfinger in the center. Pipe with an additional dollop of tiramisu frosting and top with the second macaron shell, feet side down. Repeat steps for all remaining macarons and transfer to the fridge to mature.
Check out the quick assembly video below!
Tiramisu Macarons
- Prep Time: 30
- Cook Time: 30
- Total Time: 1 hour
- Yield: 24+ 1x
- Category: Baking
- Method: Tiramisu Macarons
- Cuisine: Dessert
Description
Tiramisu flavored macarons, with a sweet tiramisu filling and coffee soaked ladyfinger center. Decorated with a light dusting of cocoa powder to mimic the look of tiramisu.
Ingredients
- 106 grams of almond meal
- 106 grams powdered sugar
- 41 and 45 grams of egg whites divided
- 115 grams of granulated sugar
- 78 grams of water
- dash of cream of tartar or lemon juice for stabilizing
- Cocoa Powder (for dusting onto piped shells)
- 3/4 cup organic shortening (or butter of choice)
- 1/4 cup mascarpone ;
- 1 1/4 to 1/2 cups confectioners sugar
- 1 tsp espresso powder
- 1/2 tsp vanilla
- pinch of salt
- 1 1/2 cups chilled espresso
- Store-bought lady fingers (brand of choice) (homemade can also be used)
- Cocoa Powder
Instructions
Macaron Shells:
- Wipe down the mixing bowl and whisk attachment with vinegar to remove any built up residue. This will ensure that the egg whites whisk up properly.
- Prep and measure all of the ingredients using a kitchen scale.
- Prep a piping bag with a round tip. Wilton tip 12.
- Line 2 baking sheets with silpat (or parchment).
- Combine measured almond meal & powdered sugar together in a bowl. Sift one time to remove any lumps, discarding of them, then mix together to break up clumps.
- Make a well in the center of the dry mix and pour the 41 grams of measured egg whites into the center of the dry mixture. Fold together until blended. The finished mix will be paste-like. Set aside.
- For the sugar syrup:
- To make the sugar syrup, heat granulated sugar and water in a pot on medium heat with a candy thermometer attached to the side. **Be careful to make sure the thermometer is not touching the bottom of the pot**.
- Once the thermometer’s temperature reaches approximately 200 degrees F, place the 45 grams of measured egg whites in the stand mixer and whisk on medium speed, to soft peaks.
- Add a drop of lemon juice or dash of cream of tartar to stabilize, THEN continue whisking.
- If the egg whites are at soft peaks before the syrup reaches 248 F, turn the mixer down to low speed to keep the egg whites moving.
- Watch the sugar syrup closely.
- As soon as the sugar syrup reaches 248 degrees F, remove from heat.
- Quickly increase mixer speed to medium and begin slowly pouring the sugar syrup down the side of your mixing bowl into the meringue until thoroughly combined.
- THEN increase the mixing speed to high and whisk sugar and meringue together until glossy and stiff peaks form and the meringue has cooled. (The meringue should keep its form.)
- Gently transfer finished meringue into the almond/powdered sugar mixture in thirds, making sure that it’s fully incorporated before adding the additional 3rd of meringue.
- Start the macaronage process by folding the batter in a circular motion, going around the edges of the bowl, then once through the center. Repeat these steps until smooth and thick ribbons of batter run off the spatula.
- **Be careful not to over-mix**
- You want the batter to be slightly thick, but not so thin that it does not hold the ribbon shape. Err on the side of caution.
- Transfer batter to the prepped piping bag(s).
- Pipe 1 1/2 inch rounds about one inch apart on the lined baking sheet.
- Be sure to hold the piping bag about 1/2 inch directly above the baking sheet when piping the rounds holding the bag steadily. Continue to pipe until you’ve filled an entire baking sheet.
- *Tap the macarons on the counter three times to release air bubbles.
- *Pop any air bubbles that might’ve come to the surface, using a scribe or even a toothpick.
- Dust the piped shells in a light layer of cocoa powder.
- Then before placing the macarons in the oven, let them to rest until a proper skin has formed on the outside of the shell. This can take anywhere from 20-30 minutes. Test by touching the piped rounds to make sure they’re dry to touch and that no batter comes off on fingers.
- Preheat oven to 300 degrees F.
- Once dry to touch, place the macarons in the middle rack of the oven.
- Feet will form halfway through the baking process.
- Bake for 12-14 minutes.
- Remove from oven and let cool for 15-20 minutes to cool before removing the shells from the silpat/parchment paper.
- Once macarons are completely cool, gently remove from parchment paper/silpat.
- Repeat the same steps to bake the remaining macaron batter.
- They’re ready to fill.
Tiramisu Filling:
- Mix organic shortening/mascarpone, together until well combined.
- Then pour in the powdered sugar, espresso, vanilla and salt in a stand mixer and mix for about 3 minutes until light and fluffy.
- Transfer filling to piping bag fitted with a round tip and set aside.
Ladyfingers:
- Pour chilled espresso into a shallow bowl.
- Ladyfingers will become mushy if soaked into the espresso for too long, so very quickly dip each side of the of the ladyfingers into the bowl of espresso, placing onto a sheet of parchment.
- Cut the ladyfingers into bitesized pieces to fit snugly into the center of each macaron.
Assembling:
- Start by matching up the shells.
- Then place one shell on its back with the feet side up.
- Pipe a round of tiramisu frosting along the outside edge of the shell, then place a piece of the soaked ladyfinger in the center.
- Pipe an additional swirl of tiramisu frosting and top with the second macaron shell, feet side down.
- Dust with additional cocoa powder if desired.
- Repeat steps for all remaining macarons.
- Transfer to the fridge in an airtight container for at least 2 or up to 24 hours, to mature.
Notes
Place macarons in an airtight container. They will stay delicious in the fridge for 2 days or 6 months in the freezer.
The tiramisu macarons are a wonderful anytime treat, pairing deliciously with a cup of coffee or your favorite beverage of choice.
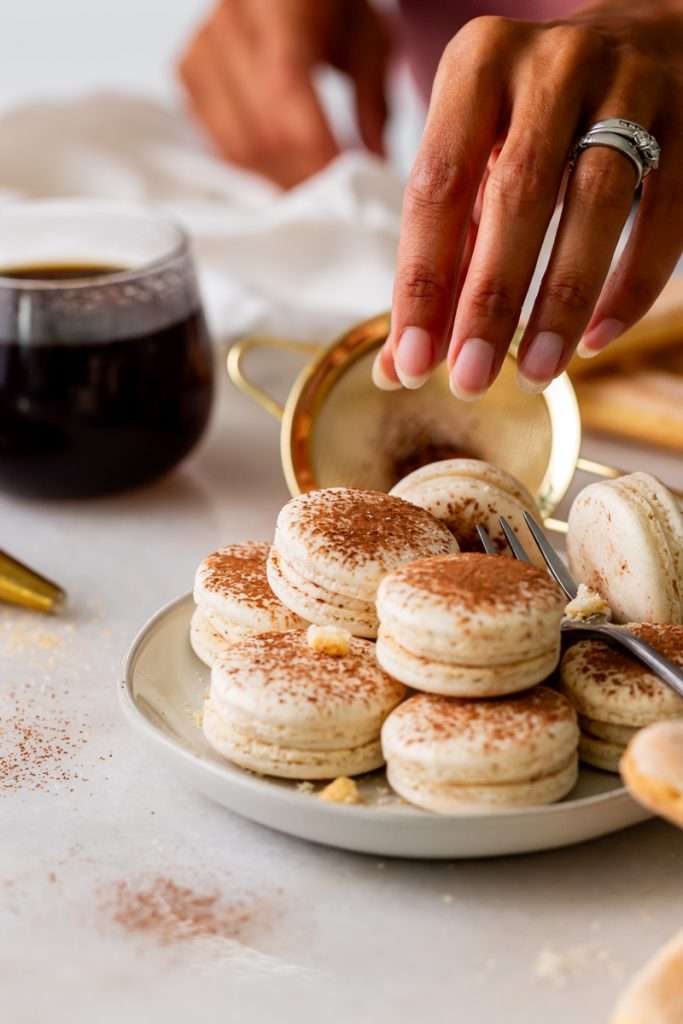
They were a wonderful addition to the dessert menu for Amaia’s Amalfi Coast themed party, but there’s certainly no celebration necessary to enjoy a batch!
If you enjoy coffee and tiramisu, be sure to bookmark and save the recipe to Pinterest! Happy baking!

This post titled Tiramisu Macarons was seen first on Posh Little Designs. All Rights Reserved. 2023



I’ve used this recipe several times and it’s incredible! When I’ve told my customers that it’s seasonal, they’ve said, “KEEP making these!”
Thank you so much! I love hearing this and am so happy you’ve enjoyed the recipe!