
Pink Door Cookies
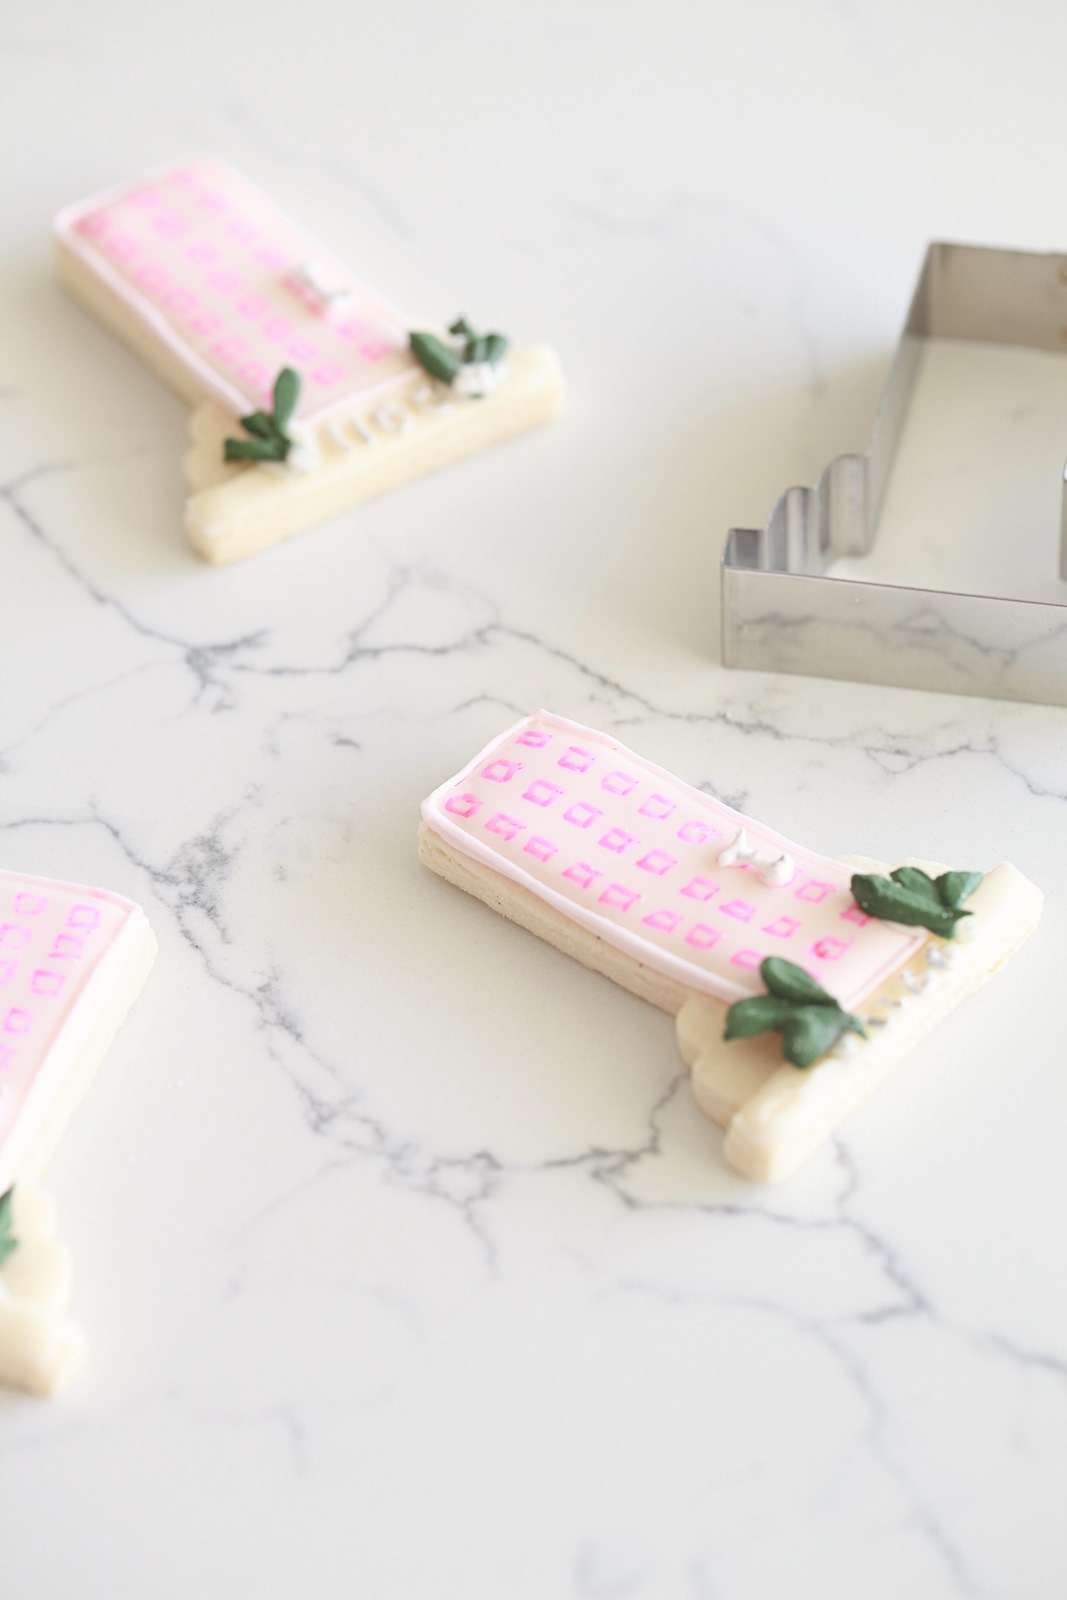
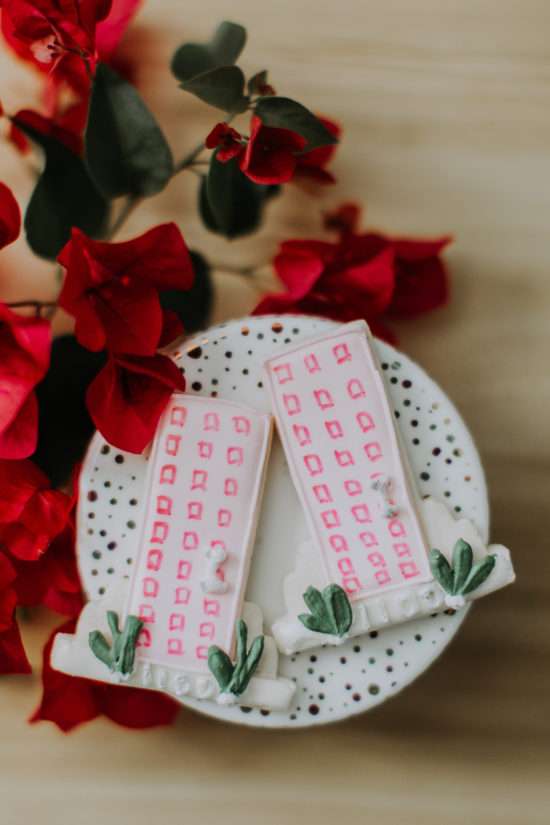
Happy December all! I’m back after a few weeks and ready to share some fun holiday content with you! But first I wanted to talk about a sweet collaboration that just I wrapped with a Palm Springs based Photographer. Brianna (@briannabroyles) and I connected over on Instagram and I just sent her out a batch of cookies, inspired by #ThatPinkDoor. She photographed the cookies and is now giving them away to one local winner, to spread some Palm Springs cheer.
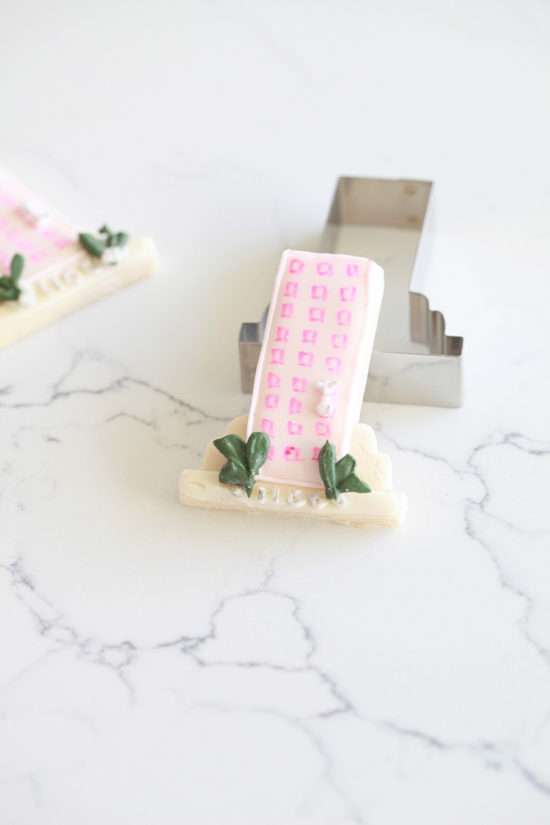
The winner of the giveaway will receive 6 of my pink door cookies and 1 of my door shaped cookie cutters. Be sure to visit both of our pages for details! You can also find the cookie cutter, in my shop right now. The cutter is the perfect shape for making your own pink door cookies, or any door for that matter.
#ThatPinkDoor has been a popular source of inspiration, not only for me, but basically everyone over on Instagram, or visiting Palm Springs. Did you see the pink door pumpkins I made in October? Check them out here!
Alas, the recipe for the pink door cookies, because this post wouldn’t be complete without it!
PINK DOOR COOKIES
Pink Door Cookies with Royal Icing
Description
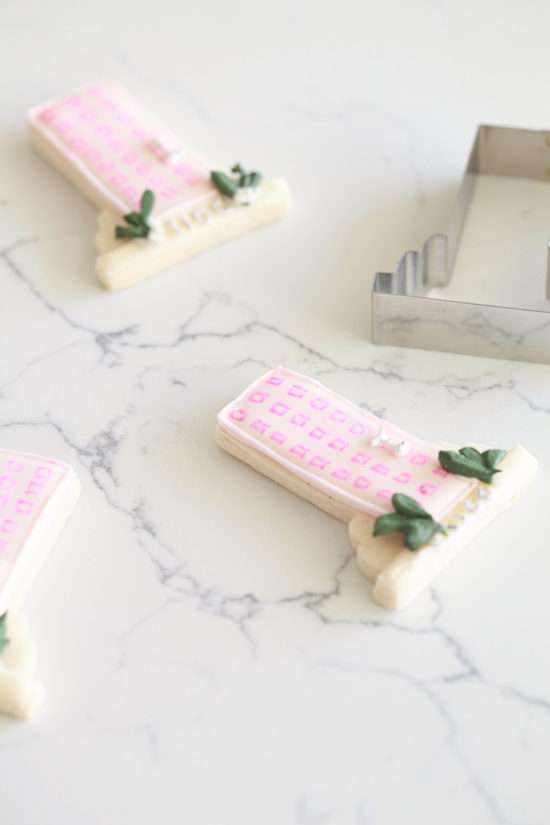
#ThatPinkDoor inspired sugar cookies, complete with royal icing plants and a glittered door knob. (dairy free option)
Ingredients
FOR THE SUGAR COOKIES
- 3/4 cups vegan butter (or real butter softened)
- 1 cups white sugar
- 2 eggs
- 1/2 tsp Vanilla
- 2 1/2 cups flour
- 1 tsp baking powder
- 1/2 tsp salt
FOR THE ROYAL ICING
- 2 Cups Powdered Sugar
- 2 TBSP Meringue Powder
- 1/4 warm water (+ extra to thin icing)
- 1/2 tsp Vanilla extract
- EXTRA SUPPLIES
- Pink Edible pens/silver paint (Michaels) and white edible glitter for finishing touches
- Food grade paint brush (for painting on icing for sprinkles to stick)
- Door shaped cookie cutter
- Pink, White & Green food coloring.
Instructions
FOR THE SUGAR COOKIES
- Preheat oven to 400 degrees.
- Cream together butter and sugar in a mixing bowl, until combined.
- Mix in eggs and vanilla.
- Stir in flour, baking powder and salt.
- Mix on med-hi until combined.
- You’ll know your cookie mix is ready when most of it sticks to the mixing paddle.
- Roll dough out onto a floured surface (about 1/2 inch thick)
- Cut into shapes with cutters of choice.
- Bake cookies on a parchment lined baking sheet for about 6 minutes.
- Remove from heat and cool.
FOR THE ROYAL ICING
- Combine powdered sugar and meringue powder in the bowl of an electric mixer.
- Add extract and water and beat on high for about 5 minutes.
- The icing will be very thick. This will be the consistency for piping and details. Divide the thick icing between 3 bowls and add food coloring to the make pink and green icing. Keep the white as is. The door is a light pink color, so a little food coloring will go a long way. You can also add a little black to the green icing to darken it.
- Once the the pink and green colors are achieved, spoon enough thick royal icing into each piping bag for piping and details. You’ll want one piping bag for each color of detail icing.
- Thin out the remaining icing to flooding consistency by adding warm water a few drops at time, be sure not to make it too thin. To test it, it should take about 5 seconds to spread completely, once thinned.
- Transfer each color of flood icing to piping bags.
- DECORATING
- Using pink detail icing, pipe the rectangle shape of each door onto the cookies, leaving space at the bottom for the white curb and address. Flood each door with pink flood icing. You can use a toothpick or icing tool to pop air bubbles in the icing. Repeat steps for all cookies, then pipe and flood the white rectangle on the bottom of each cookie. Set aside to dry.
- Once cookies have dried, you can begin adding decorative details.
- That Pink Door has 3 squares across and 9 down for a total of 27 squares on each door.
- Create the look of the squares by using a pink edible ink pen to draw them onto each door. Repeat steps to add pink squares to all of the cookies.
- Once squares have dried, add a door handle with white detail icing.
- And the address numbers “1100” with white detail icing.
- Set aside to dry.
- Once the door handles and address numbers have dried, paint them silver with edible silver paint.
- Lastly pipe green plants on either side of the door cookies, and finish with a little white edible glitter.
Notes
- The cookies should be stored in a cool dry place. They will keep for about 10 days and last longest when packaged/sealed correctly. They also freeze well.
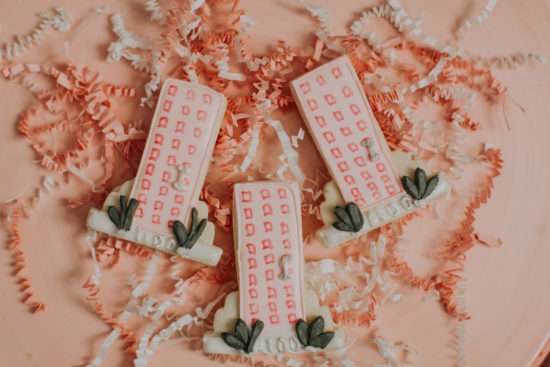
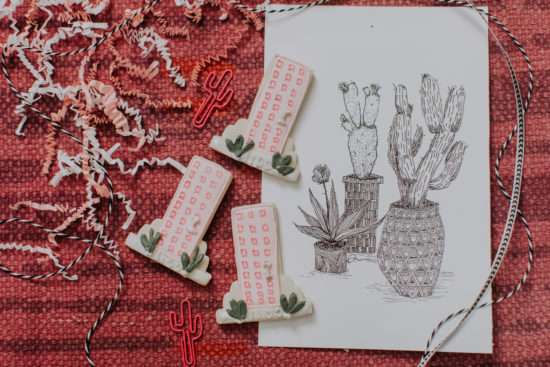
Here are a few of the images that the photographer Brianna Broyles took. I love how she incorporated the illustration of the cacti into the background.
I hope you enjoyed today’s sweet post! As always thanks so much for reading!
You can visit Brianna’s site and instagram via the links above

This post titled Pink Door Cookies was seen first on Posh Little Designs. All Rights Reserved. 2017