
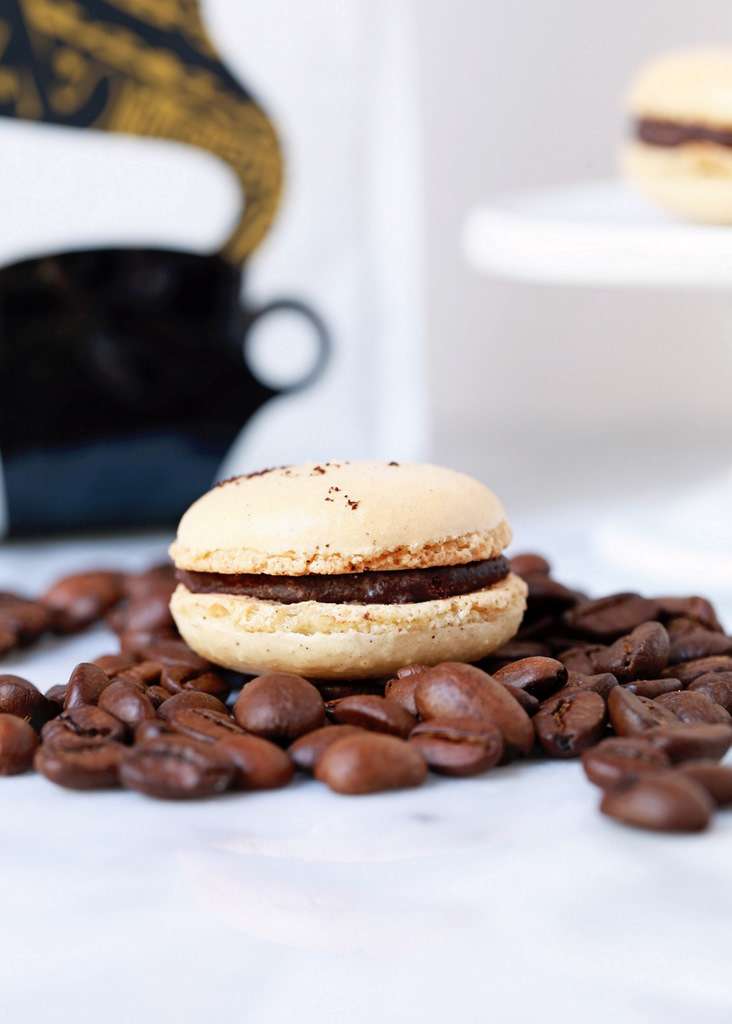
Coffee Macarons
Start your morning with coffee and Eat macarons for breakfast. Words to live by, every single day if you ask me.
Because coffee + macarons = <3

Dark chocolate macarons infused with ground coffee from Lavazza’s newest single origin line…even more love.
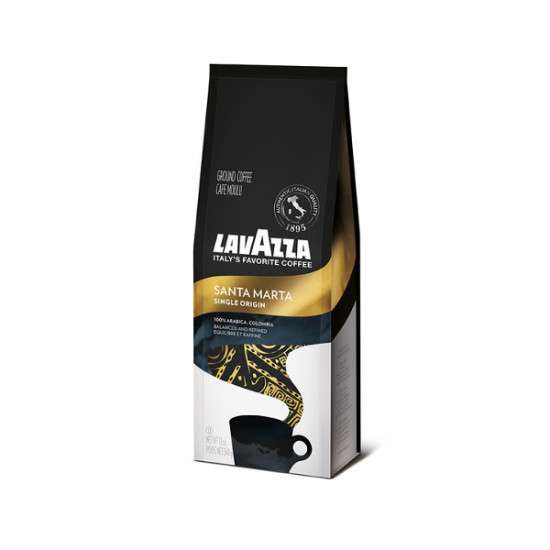
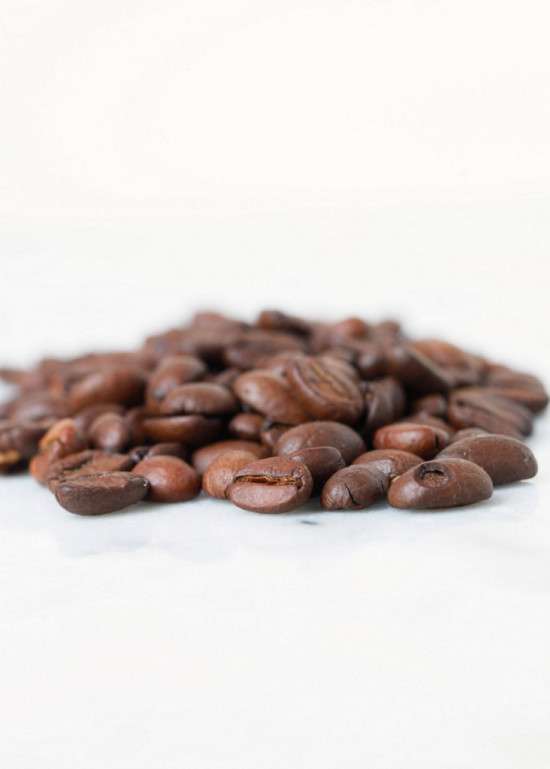
Lavazza’s Santa Marta coffee blend has subtle notes of pralines, so I knew it would pair perfectly with the delicate flavor and texture of the macaron and unsweetened dark chocolate coffee ganache. Like the Kilimanjaro coffee blend, it’s made from 100% Aribica beans. Santa Marta is grown exclusively in Columbia.
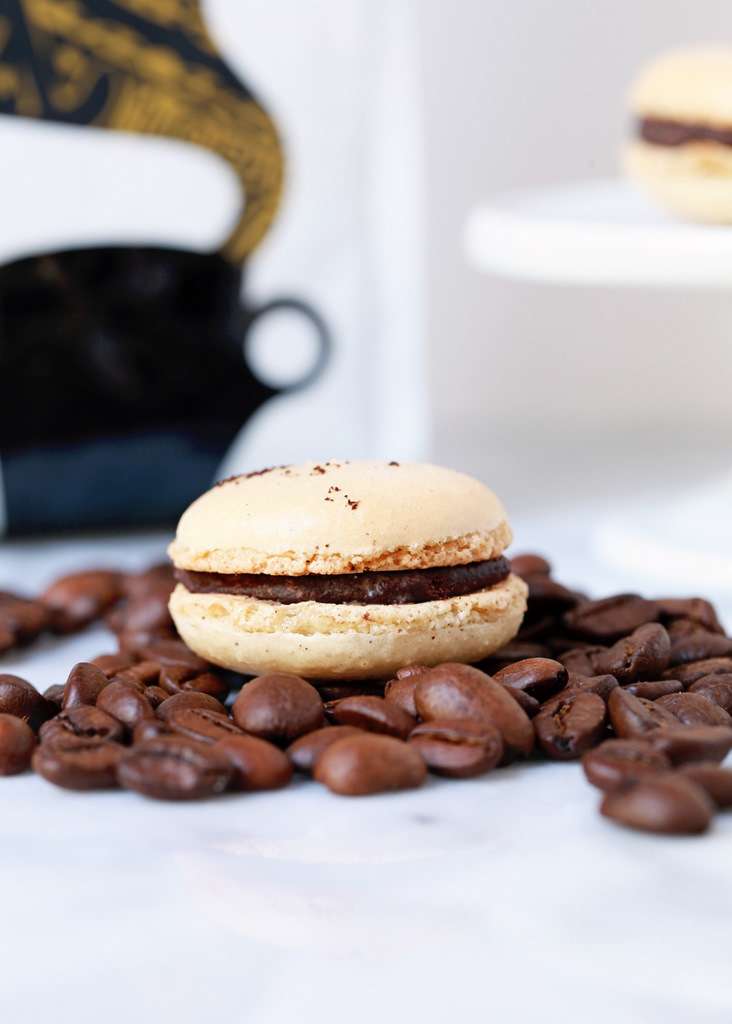
The combination of the two is basically the best of both worlds. Like a cup of your favorite coffee in the form of dessert.
And who doesn’t love dessert?!
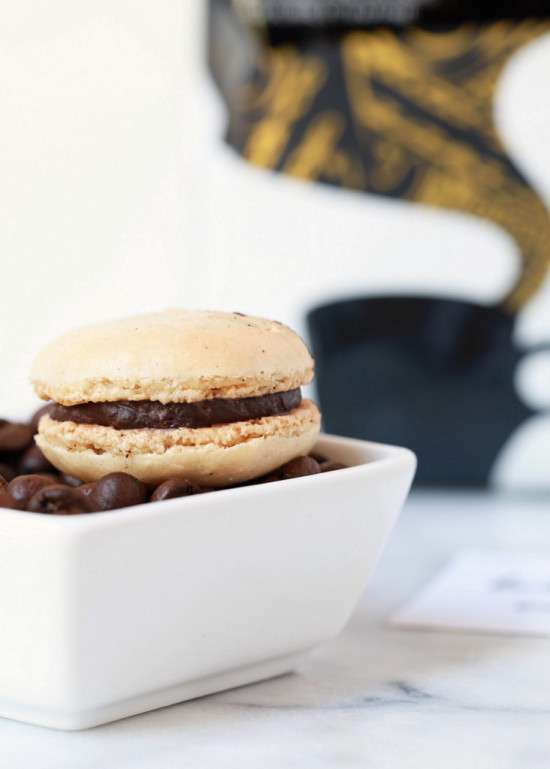
Match made in macaron heaven.
Print
Dark Chocolate Santa Marta Macarons
Description
Macarons made with Lavazza’s Santa Marta blend coffee and filled with a dairy free dark chocolate and coffee ganache.
Ingredients
- 106 grams of almond meal
- 106 grams powdered sugar
- 41 and 45 grams of egg whites divided
- 115 grams of granulated sugar
- 79 grams of water
- dash of cream of tartar or lemon juice for stabilizing
- 3 grams of Lavazza’s Santa Marta blend coffee (I ran mine through a grinder to achieve a smoother texture for the cookies)
- Chocolate Coffee Ganache
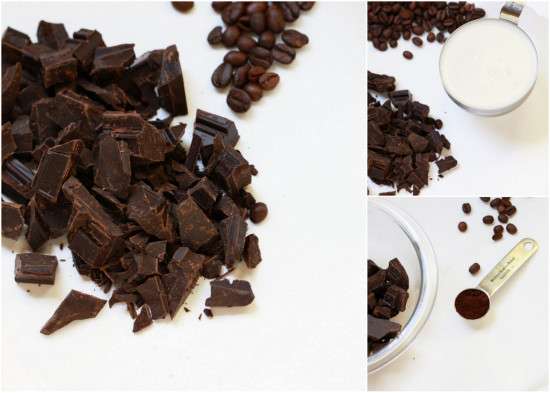
- 8 oz coarsely chopped unsweetened & dairy free dark chocolate
- 3 teaspoons Lavazza’s Santa Marta Coffee
- 1 cup coconut or almond milk
Instructions
- First things first! Wipe down the mixing bowl and whisk attachment with vinegar to remove any built up residue. This will ensure that the egg whites whisk up properly!
- Prep and measure all of the ingredients using a kitchen scale.
- Prep a piping bag with a round tip. I use Wilton tip 10.
- Line 2 baking sheets with silpat (or parchment).
- Combine measured almond meal & powdered sugar and ground coffee together in a bowl. Sift one time to remove any lumps, discarding of them, then mix together to break up clumps.
- Make a well in the center of the dry mix and pour the 41 grams of measured egg whites into the center of the dry mixture. Fold together until blended and mix well until fully incorporated. The finished mix will be paste-like. Set aside.
For the sugar syrup
- To make the sugar syrup, heat granulated sugar and water in a pot on medium heat with a candy thermometer attached to the side. **Be careful to make sure the thermometer is not touching the bottom of the pot**.
- Once the thermometer’s temperature reaches approximately 200 degrees F, place the 45 grams of measured egg whites in the stand mixer and whisk on medium speed, to soft peaks.
- Add a drop of lemon juice or dash of cream of tartar to stabilize, THEN continue whisking.
- If the egg whites are at soft peaks before the syrup reaches 248 F, turn the mixer down to low speed to keep the egg whites moving.
- Watch the sugar syrup closely!
- As soon as the sugar syrup reaches 248 degrees F, remove from heat.
- Quickly increase mixer speed to medium and begin slowly pouring the sugar syrup down the side of your mixing bowl into the meringue until thoroughly combined.
- THEN increase the mixing speed to high and whisk sugar and meringue together until glossy and stiff peaks form and the meringue has cooled. (The meringue should keep its form.)
- Gently transfer finished meringue into the almond/powdered sugar mixture in thirds, making sure that it’s fully incorporated before adding the additional 3rd of meringue.
- Continue to fold the batter in a circular motion, going around the edges of the bowl, then once through the center. Repeat these steps until smooth and thick ribbons of batter run off the spatula.
- **Be careful not to over-mix**
- You want the batter to be slightly thick, but not so thin that it does not hold the ribbon shape. Err on the side of caution.
- Transfer batter to the prepped piping bag(s).
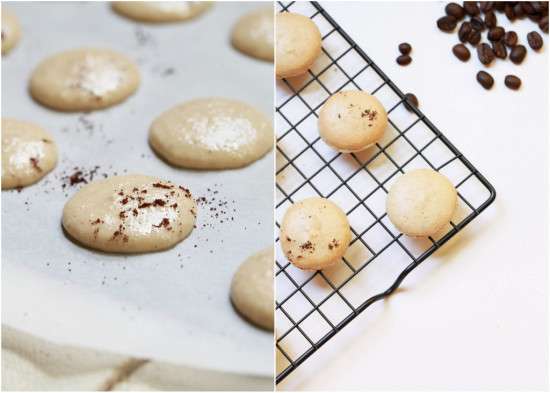
- Pipe 1 1/2 inch rounds about one inch apart on the lined baking sheet.
- Be sure to hold the piping bag about 1/2 inch directly above the baking sheet when piping the rounds. Continue to pipe until you’ve filled an entire baking sheet.
- *Tap the macarons on the counter three times to release air bubbles.
- *Pop any air bubbles that might’ve come to the surface, using a scribe or even a toothpick!
- Before placing the macs in the oven, allow them to rest until a proper skin has formed on the outside of the shell. This can take anywhere from 20-30 minutes. Test by touching the piped rounds to make sure they’re dry to touch and that no batter comes off on fingers.
- Preheat oven to 300 degrees F.
- Once dry to touch, place the macarons in the middle rack of the oven.
- Feet will form halfway through the baking process.
- Bake for 12-14 minutes.
- Remove from oven and allow 15-20 minutes to cool before attempting to remove the shells from the silpat/parchment paper.
- Once macarons are completely cool, gently remove from parchment paper/silpat.
- Repeat same steps to bake the remaining macaron batter.
- They’re ready to fill.
For the Ganache
- In a double boiler, heat the dark chocolate and coconut milk until smooth and completely melted.
- Allow to cool slightly, then transfer to a piping bag to fill the macarons.
- Chocolate Coffee Ganache
- Place coarsely chopped unsweetened chocolate and Lavazza ground coffee in a heat proof bowl.
- Heat 1 cup of coconut or almond milk in a pan.
- Slowly whisk the hot coconut/almond milk into the Chocolate and coffee, and mix until blended.
- You’ll want to add a little milk at a time and continue these steps until your chocolate is completely melted.
- Transfer to a piping bag and evenly pipe rounds of ganache onto the center of each macaron. Top with second shell to create a sandwich.
- Transfer your finished macarons into the fridge until ready to enjoy!
Notes
- These specific macarons are made with Italian meringue which requires both a candy thermometer and a scale for measuring ingredients. Although a bit more time consuming with the measuring of ingredients, it’s a more forgiving macaron to bake and yield’s better results in my opinion. Practice and more practice makes perfect!
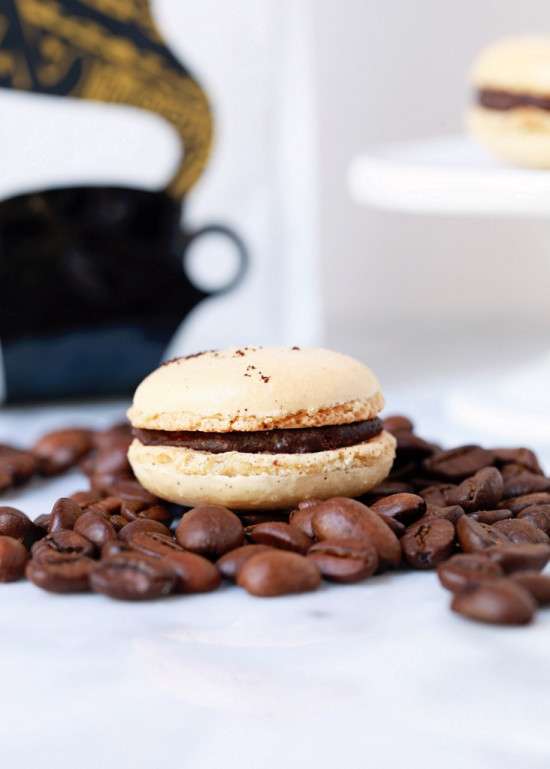
Make these sweet delights in advance and store them in the fridge or freezer until ready to enjoy!
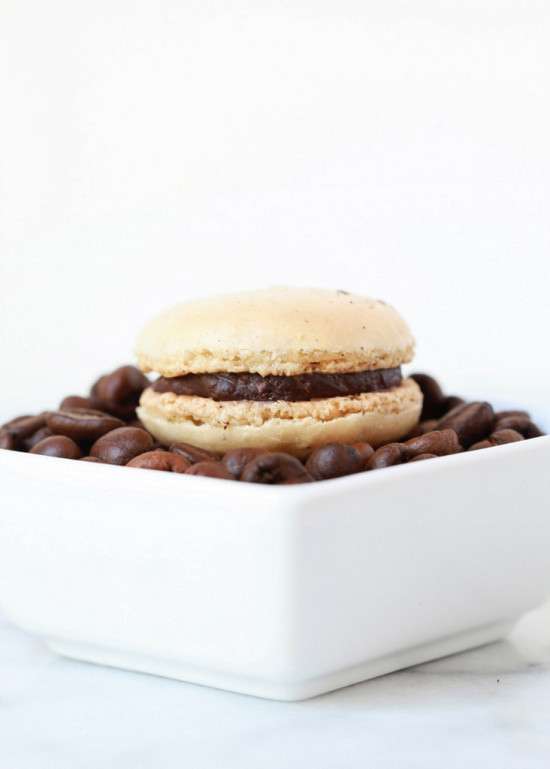
I’ll certainly be doing the same.
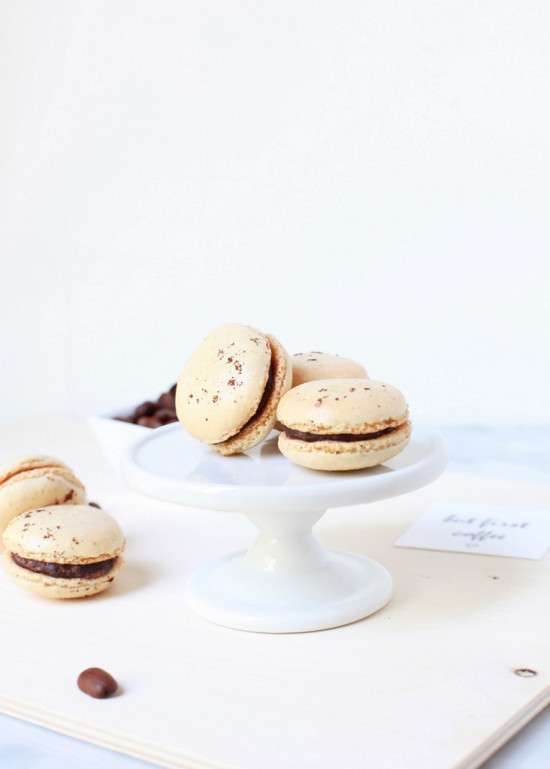
I hope today’s post has you ready to start your day, or inspires you to make your own batch of Santa Marta macarons.
More on the way soon!
xo
This post titled But First Coffee Macarons was seen first on Posh Little Designs. All Rights Reserved. 2012-2015.
All Images are photographed and owned property of Posh Little Designs. All Rights Reserved 2015.