
Chocolate Easter Bunnies – DIY
Happy almost Friday!! Do you have big plans for the upcoming holiday weekend? Mine will be filled with celebrations, starting with a baby shower in Vancouver BC on Saturday and a quiet Easter gathering with my family on Sunday. The weather is shaping up to be warm too so if we’re lucky we’ll be able to move the Easter egg hunt we have planned for our girls outdoors.
Speaking of Easter, what is your favorite memory from the holiday? (If you celebrate it.) Mine has to be the hollow chocolate bunny that I remember receiving in my basket each year as a child. As much as I loved them growing up, it would be nearly impossible to locate a soy and dairy free chocolate bunny in the grocery store these days…story of my life, but since I have a goal of carrying the tradition forward for my children, I’ve made a version my own. My motto these days: Can’t find it?! Make it! So here I present to you a modern rendition of the classic chocolate bunny, using a trio of chocolates; white, milk and dark (vegan optional) for my entire family to enjoy, and yours too!

This darling trio of sweet bunnies is made with very simple steps (perfect for last-minute gifting) and since they’re bite size, they’re a little (or a lot) less guilty. Ah!! My kind of Easter treat!
Chocolate Easter Bunnies – DIY
If you are looking to make these vegan, you can just use the dark chocolate, but be sure to read the ingredients as many dark chocolates out there still include dairy. The dairy free dark that I use comes from Trader Joes.
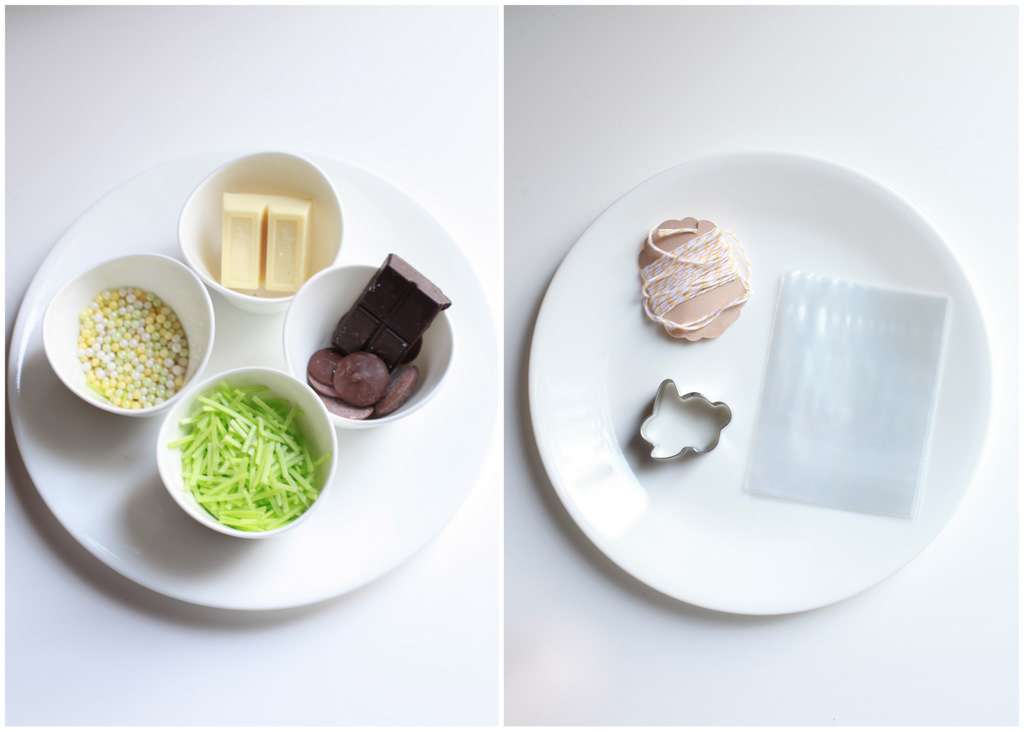
Ingredients/Supplies
1 pan sized sheet of parchment paper
6 to 8 oz of quality milk, white and dark chocolate
miniature bunny cookie cutter
small cellophane bags
edible Easter grass (Target) snipped into bite-size pieces
decorative sugar pearls (for posh)
ribbon or bakers twine
Instructions
Line baking sheet with parchment paper and set aside.
Place chocolates into 3 separate heat-proof bowls and microwave in 30 second intervals until melted.
Pour each kind of chocolate separately onto parchment paper.
Smooth out any lines or bubbles in the chocolate using a rubber spatula.
Place in the fridge to chill for 3-5 minutes. You want the chocolate to be partially chilled but soft enough to cut and hold the shape of the cookie cutter, but not fully chilled, otherwise you won’t be able to cut it.
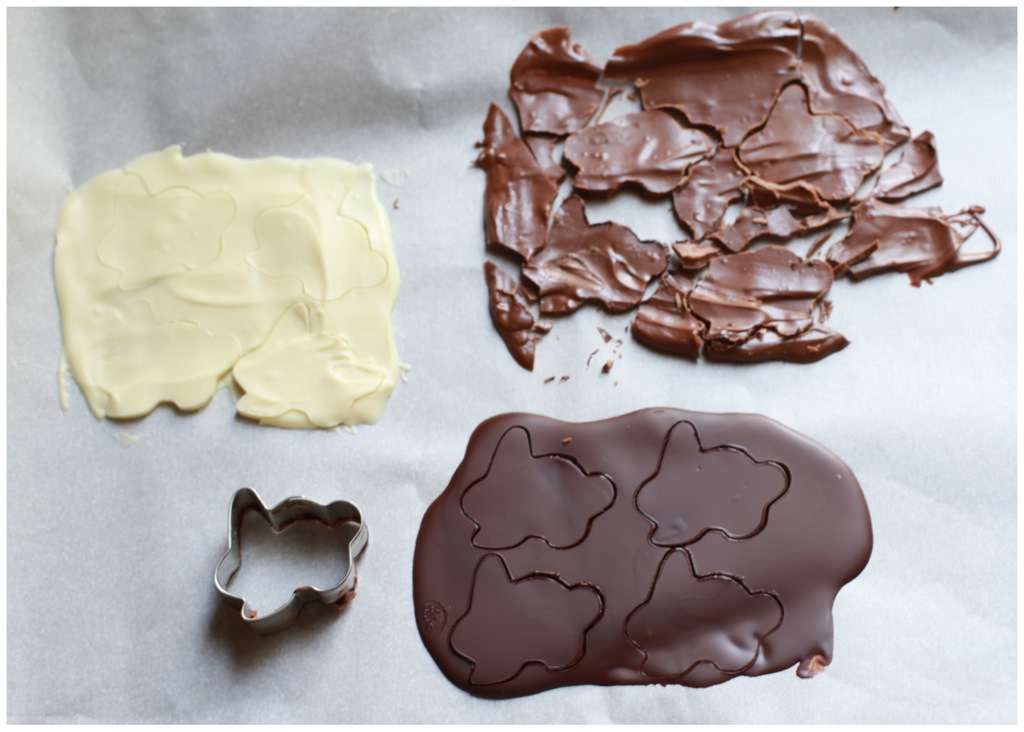
Cut multiple bunny shapes into each of the 3 chocolates.
Place back into fridge to fully chill. I give it an hour.
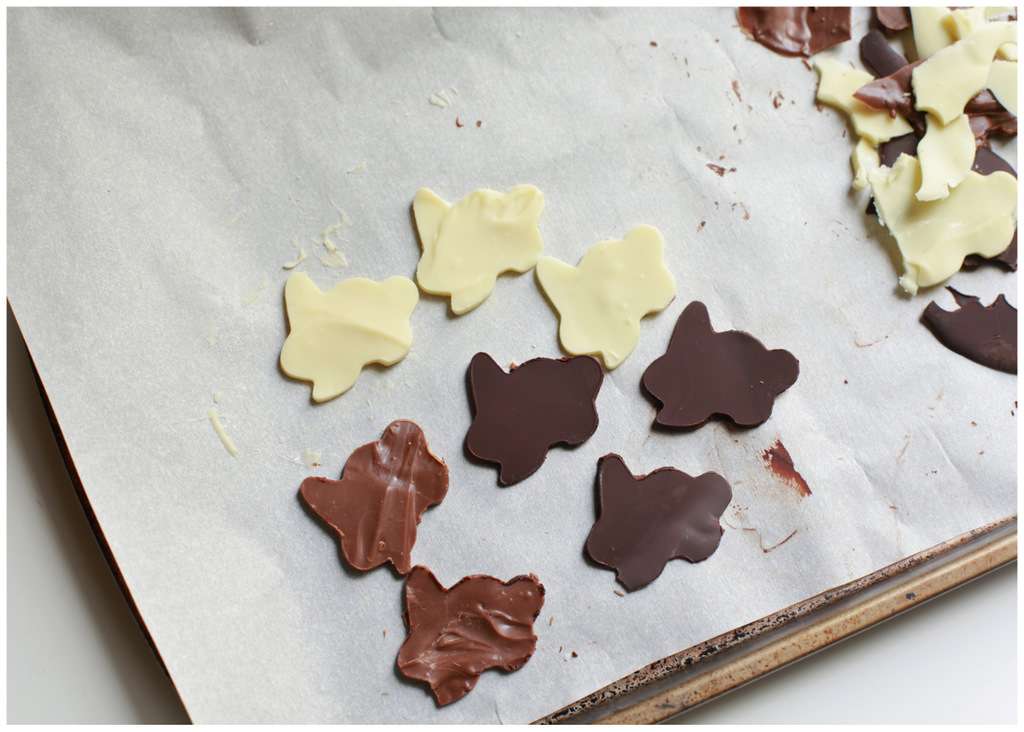
Keep chilled until ready to serve/gift.
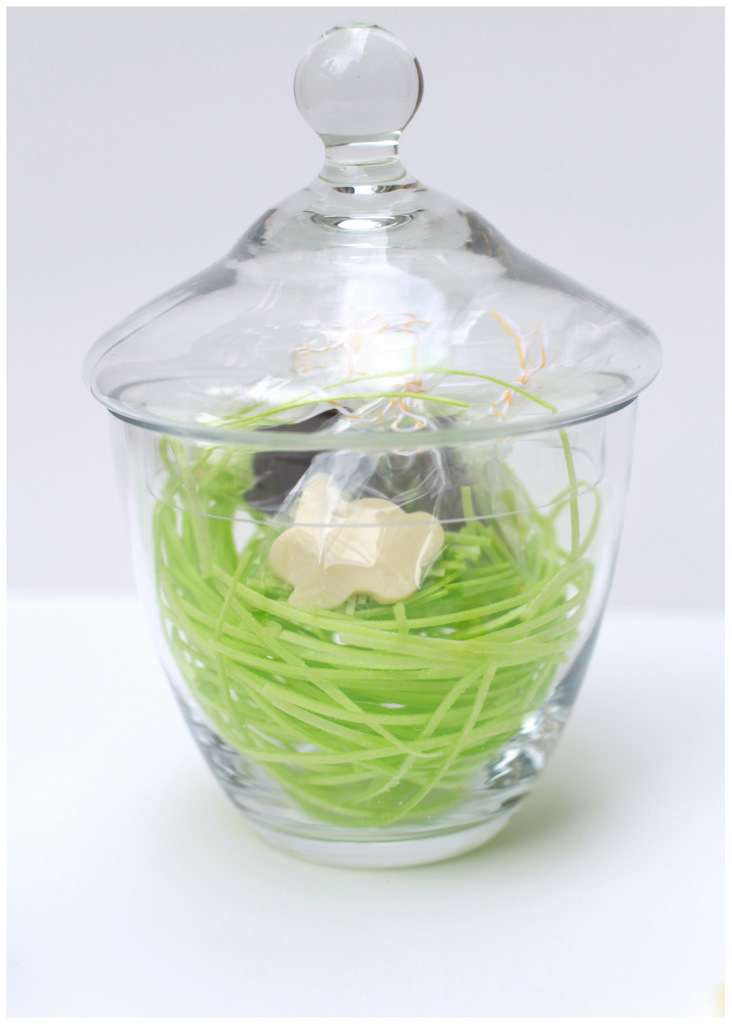
Treat Bag Assembly
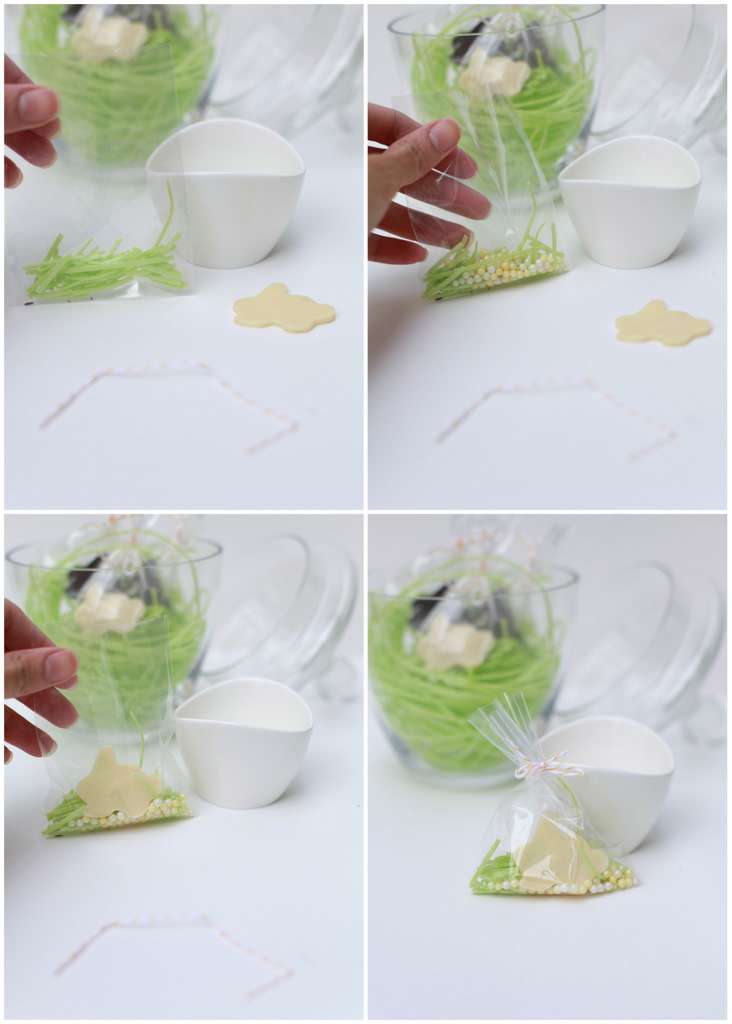
Fill bottom of cellophane bag with snipped edible grass.
Free pour about a teaspoon of sugar beads.
Add chocolate bunny.
Finish them with a pretty bow and you have a posh little treat/gift to give for the holiday.
Place them in your child’s Easter basket, or put them out to enjoy on Sunday.
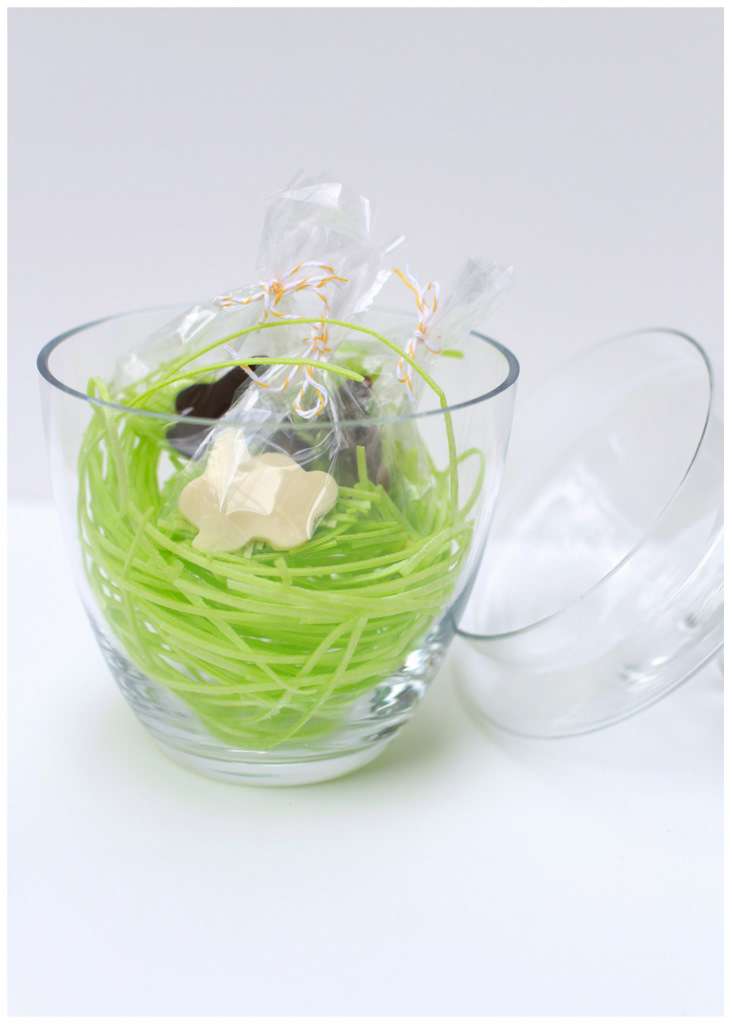
Wishing you all a fabulous holiday weekend!
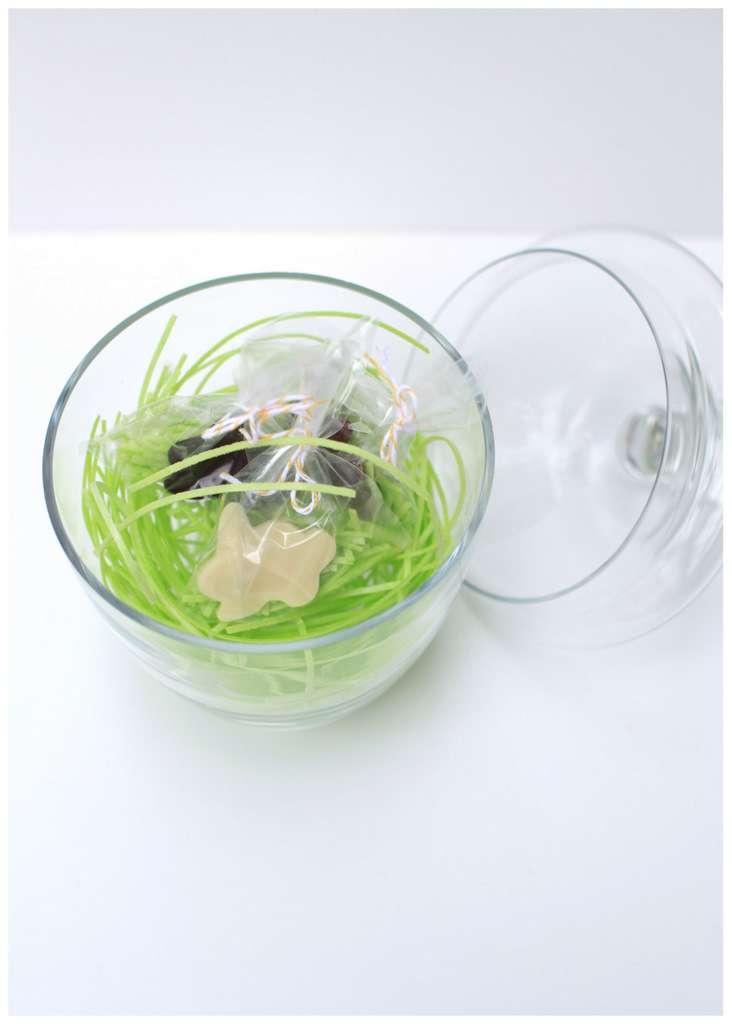
Please check back in soon for your next dose of posh.
xoxo
This DIY concept was seen first on Posh Little Designs. All images are photographed and owned property of Posh Little Designs. All Rights Reserved 2013.
Yum Yum Brandi…so clever and cute. I never filled your basket with candy on Easter. haha. OK, maybe just a hollow bunny or two. :) I love your modern take on it and so much better for you…you’re right, can’t find it, make it yourself. So cool!
Yes, I do remember the hollow chocolate bunnies well ;) learning how to improvise has been fun. I love discovering new ways to create things that taste delish and look fab too!!
These are so cute!
Thank you so much :) appreciate the comment!!
so good articleeeeeee! i love chocolateeeeeeeeeee!!!! well done!kiss from italia.
http://honeyandcotton.wordpress.com/